• Welcome! The TrekBBS is the number one place to chat about Star Trek with like-minded fans.
    If you are not already a member then please register an account and join in the discussion!

Shuttlebay 02 - USS Enterprise 1701 D - TNG

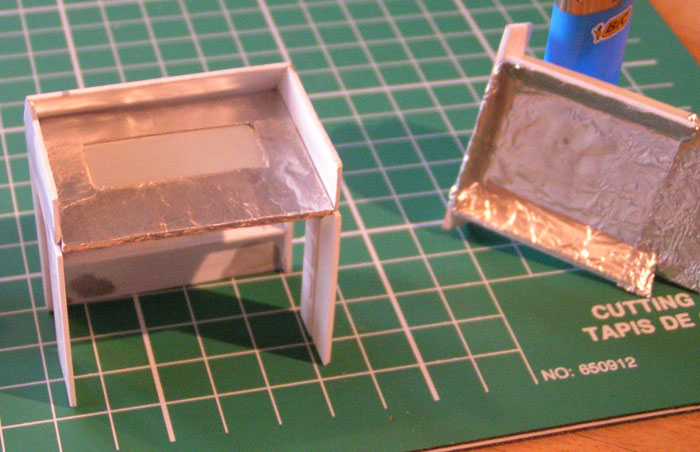
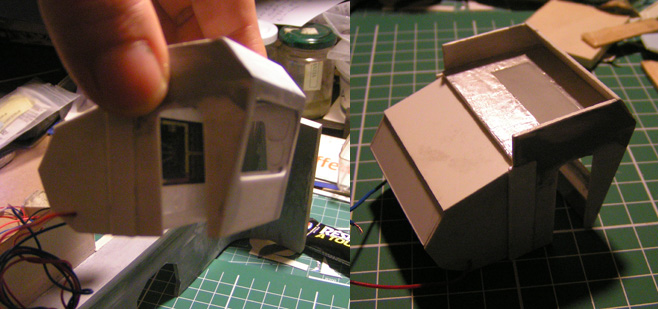
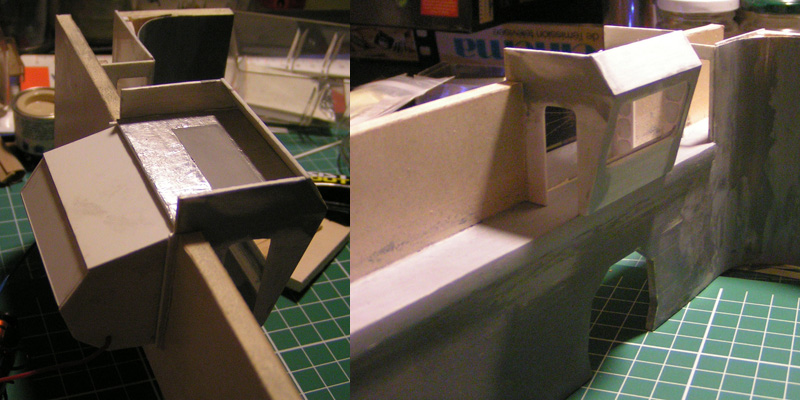
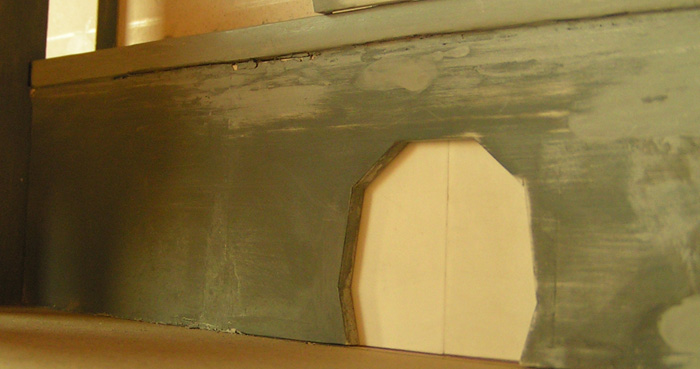
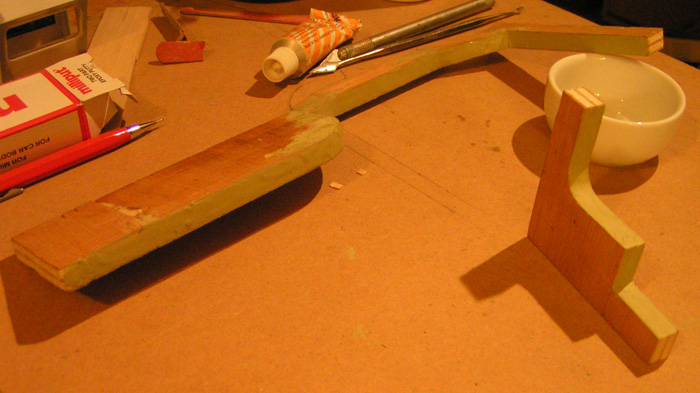
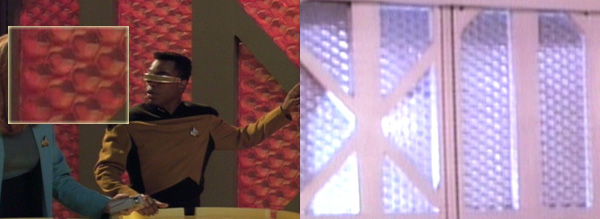
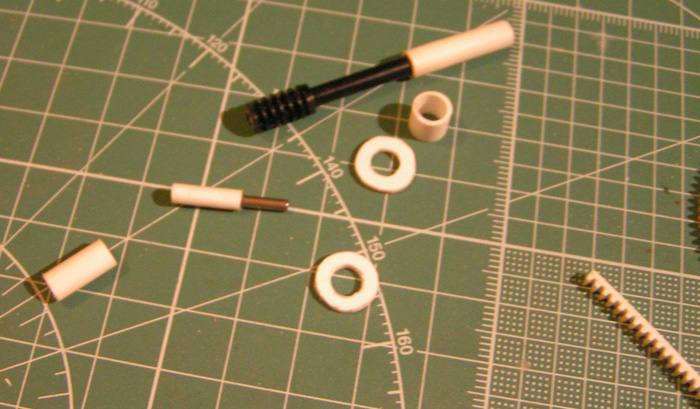
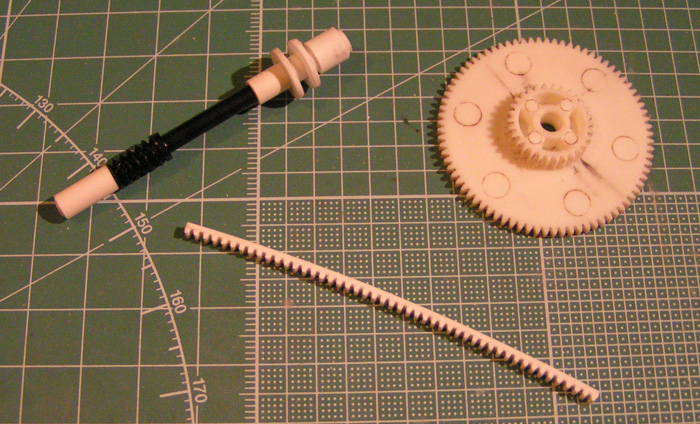
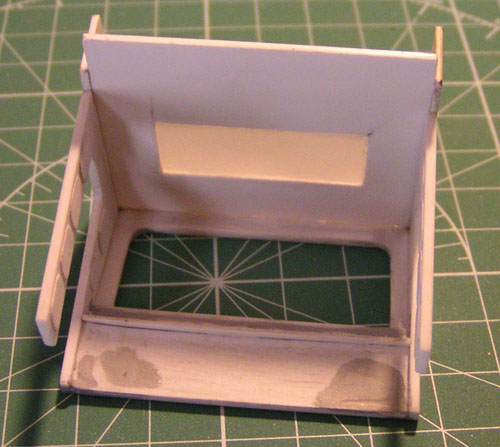
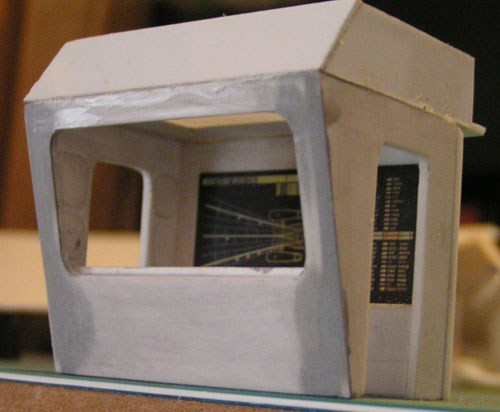
You will certainly have noticed that USS Enterprise has corridors "carpet" (!?). To reach a status " Starfleet " recquiert of the efforts, the corridors of vessels recoivent an elegant carpet two tones. Condemned to represent it, me here is for the action scalpel in hand. I would see later if she supports the airbrush!

couloi12.jpg


couloi13.jpg


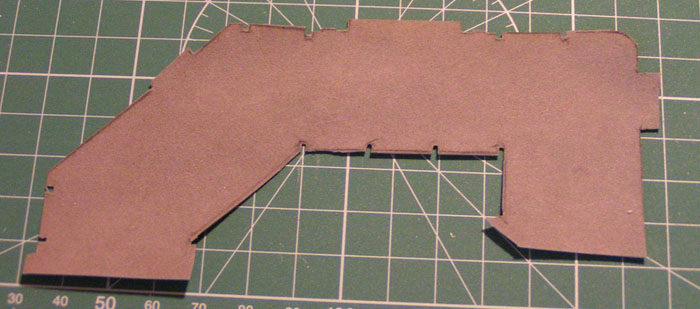
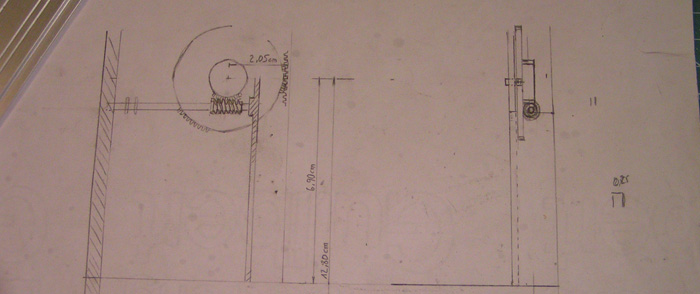
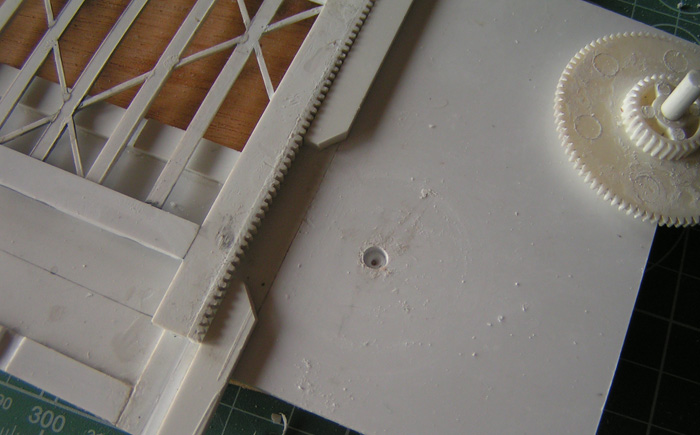
The material used to represent this carpet is a lightweight felt stuck on some supple(flexible) plastic which I have to get back on a small banking file of statements. To fire of any wood is the base of a scratchbuild.

couloi14.jpg


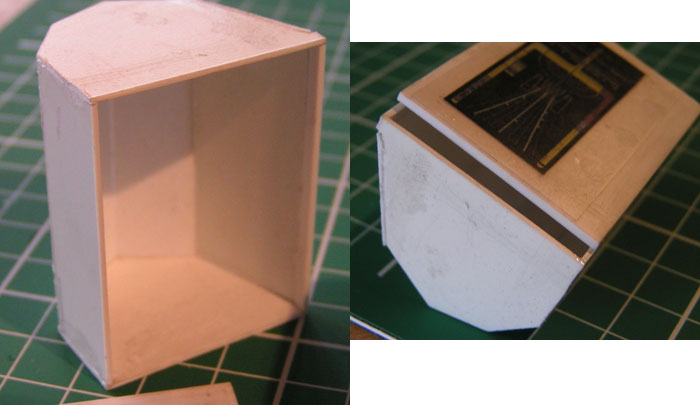
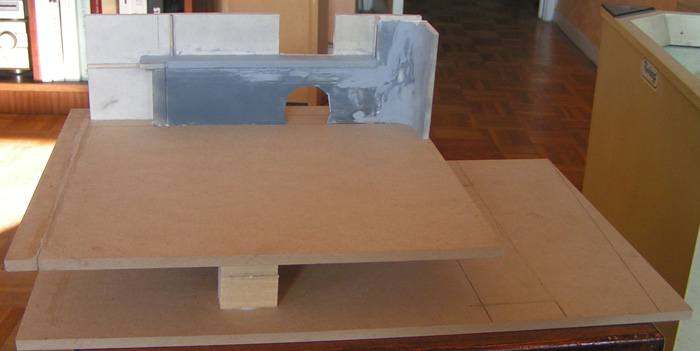
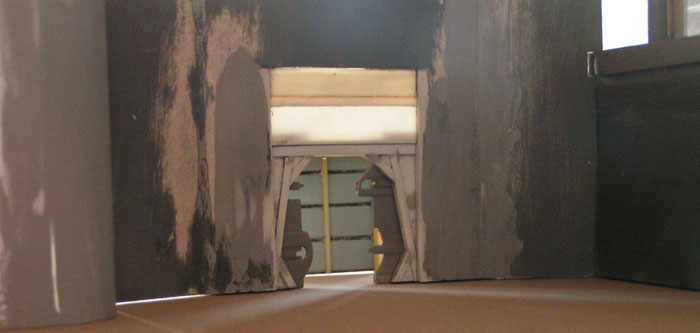
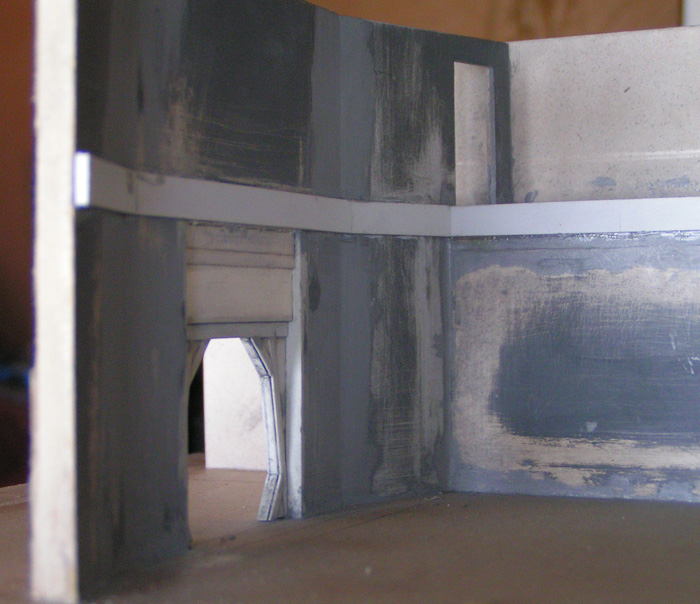
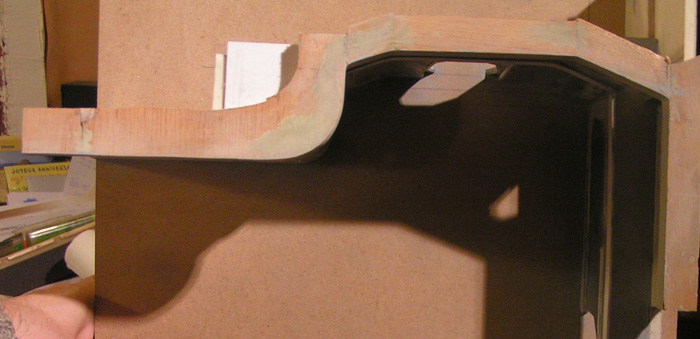
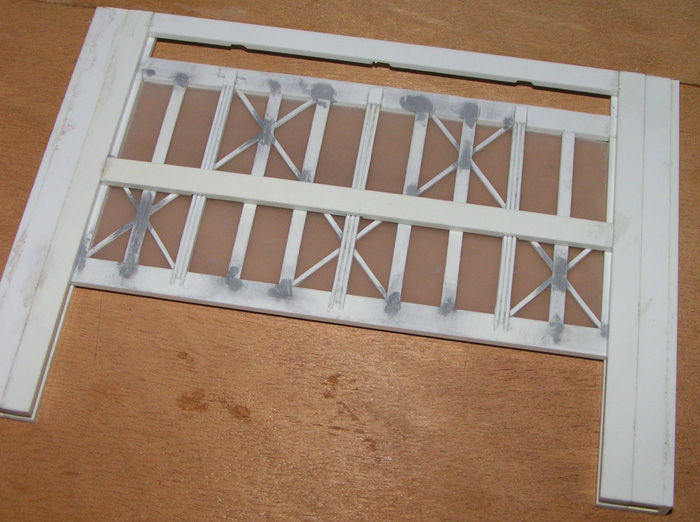
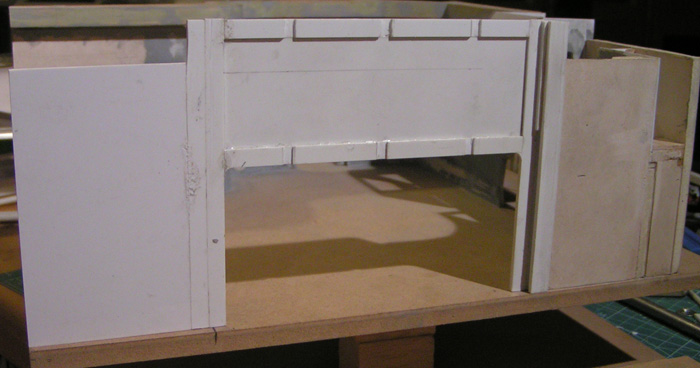
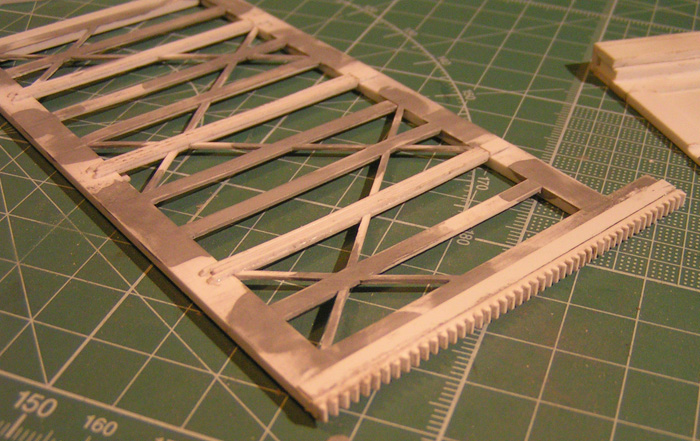
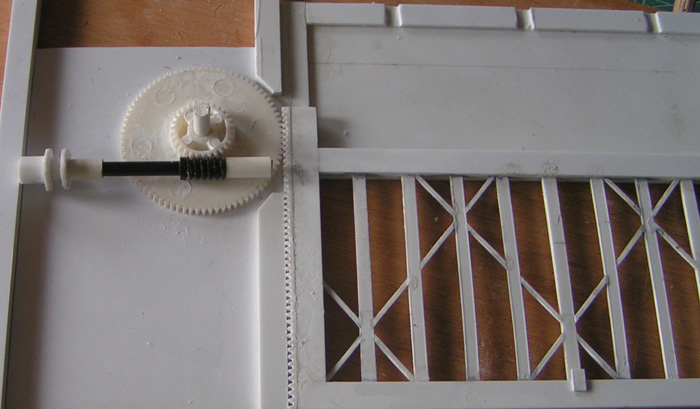
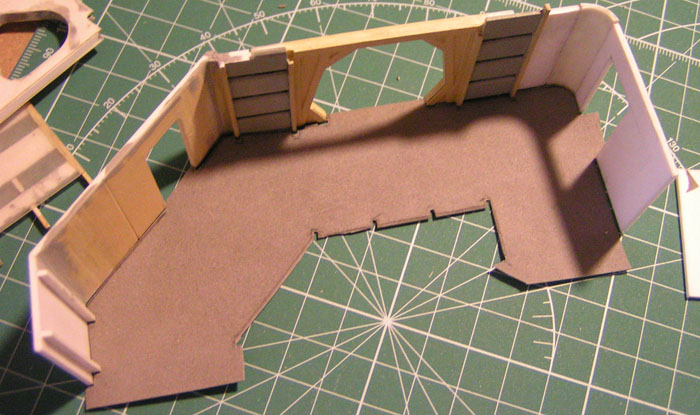
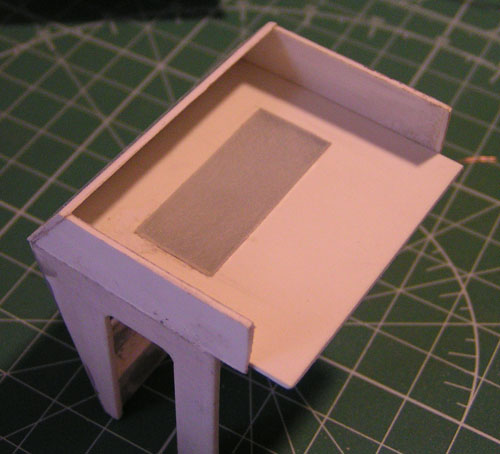
You will understand now why I plan to dress(to take on) the ground of the shed of a plastic sheet of 0.25mm. The upgrade on the carpet of the corridor.
 
The own of one creation as this one is to play leapfrogs. At the moment, I leave aside the corridor to dedicate myself to another very interesting piece to be made.
We leave temporarily on the shed to discover the cabin of the checkpoint, situated on the balcony of Shuttlebay. At the beginning of the works...
This cabin is equipped with an often visible LCARS in the serie.

cabine10.jpg


Internal sight...

cabine11.jpg


And on the ceiling light....

cabine12.jpg


You will have understood that these two parts will be illuminated. The LCARS and the ceiling light.

cabine13.jpg


cabine14.jpg


cabine15.jpg


To say to you the truth, I found the striking illumination, beyond for what I hoped. Nevertheless, there are defects

cabine16.jpg


Let us imagine Geordi LaForge on the place of this vulgar plastic figure. In spite of my satisfaction, the illumination of Lcars for which I had not worked demonstrates well that a lighting " in it goes fast " give only an inferior result. I am going to remedy this problem of two manners: the addition of a resistance to ease the luminosity and finally of a coffering to dilute the luminous flow.
On the other hand, the illumination of the ceiling light.

cabine17.jpg


cabine19.jpg
 
You know, if you have the space and are ambitious enough, it looks like you could do a great job recreating the entire set plan. :)

Edit: Wow! I didn't realize you were doing ceilings and detailing the corridor so well - and practical lights. Are you actually doing the whole thing? The colors look like a perfect match, also.

Hello Praetor! Yes, it is indeed me who make this model. It is enough to love Star Trek;)
 
The coffering of the ceiling light is realized in a unrefined way but he already allows to channel the stream of light. I do not have more than to realize one more seriously and definitive.

coffra10.jpg


The coffering of Lcars is a little bit different from that of the ceiling light. Bottom with sides, he absolutely has to diffuse the light to avoid a central halo.

coffra11.jpg


The installation of a led does not represent a big difficulty, even for a novice as me.
As you see on photos, I stick some aluminium which allows the distribution of the light. I fit out a mask on the led to avoid a direct projection on the film.

coffra12.jpg


Final and definitive result of this part. Satisfactory try of light. The resistance during the final installation will remain to install.

coffra13.jpg


My fingers betray the size of the construction.

cabine20.jpg


With the implementation of the block and its viability I can finally attempt to paint the inside of the cabin and to intend to stick it definitively.

cabine21.jpg


This stage blocked me considerably. Indeed, I owed plan a dismantling of the thorough wall of cabin - on which is stuck Lcars - because I do not really know if the ink will hold on the film of rétroprojection in the time. The problem is resolved!
I indicate that the present LCARS is not the one that I shall leave. Indeed, the image being slightly too big, I have to reduce it and increase the black spaces.
 
The phase of sticking on base begins.... I stacked two boards (Wood "medium" 8mm). The low part, symbolizing the deck 14, is the one which will carry the whole model and is again a little bit short of 8cm. All in all, and as I indicate it higher, she will measure approximately 56cm on 30.
It is on this empty part that I shall represent the back part, the entrance outside (stern), of USS Enterprise NCC 1701D. The superior, the deck 13, which measures 30x32cm, will receive the majority of the made pieces.

suppor10.jpg


I remind that the back hull is tilted to 40 °, what explains the difference of length of both plans.

suppor11.jpg


Nevertheless my efforts to realize a right work, this sight shows in which point the eye is perfectible... The mastiquage is imperative.

defaut10.jpg


The strip representing the thickness of the floor of the balcony (and of the deck 12), realized in balsa wood (an error in the choice of the material), did not support not the sanding. Thus, I decide to eliminate it and to redo it plastic such as had to it be the rest of this girder.

collag10.jpg
 
The depiction of the plastic strip is much better. The filling also makes its work.

collag12.jpg


collag14.jpg


You will notice 3 gills on the door armored "Bulkhead door". The work is not finalized yet but the idea is there.

collag15.jpg


The strip is stuck on the néoprène (glue contact). It is finally what what was the best adapted. On the other hand, the operation remains delicate, this glue does not support the errors.

collag16.jpg
 
Preparation of the beam of ceiling. I used a plywood 1 cm in thickness assembled in the white glue. These pieces will then be puttied.

collag17.jpg


As the case may be, I use various types of putty. For this pieces the most adapted is "milliput" which is rather practical and which smooths in the water.

collag18.jpg


Plan view of the beam. The back of the decoration is not openly beautiful it is as in the cinema.
As I indicated it previously, I did not succeed in realizing identical and right cuts. Noticing that my structure was rickety. I put back all this place there by assuring my work with a level.

collag19.jpg


collag20.jpg


I thought at first to realize a vision from the height, and so side (in babord) both sights were protected by a window. I finally decided that while confirming my first choices I had to foresee a removable ceiling with lighting, as a wall babord removable.
Both visions are interesting and I find damage to have to waste a profit for priviligier at all costs an overview. According to my pursuit of moment, I shall thus opt to open the one or the other one.
We can see that this plan of sight is rather pleasant.

collag21.jpg
 
To be able to move, I owe finalize the gantry of Shuttlebay. On one hand the realization of a window with cell - hexagons (for that, I have maybe an unexpected solution).

portai10.jpg


On the other hand, and it is this part which blocks me, the realization of a system of lifting of the aforementioned gantry.
Indeed, not being able to resolve me to opt for an opened or closed gate, nor to leave totally this model in a static state (I have already begun the illumination of certain parts), I wish to make mobile doors. But impossible to reach it once quite fixed.

Here is the plan of the mechanism that I suggest making.

cremai10.jpg

A solution: trammel, Pulleys, Gearings, belts
 
Impressive progress!
That honeycomb pattern has always been tricky to recreate because it´s not flat but each cell actually bulges out to each side and has a rounded profile:
 
Very good modeling here. I've always wanted to do a similar project but of the Original Series Hanger Deck.

Point of interest, your French expression "Mounting White" I think is equivalent to the English expression "Dry Fit".

Keep up the good work!

--Alex
 
Impressive progress!
That honeycomb pattern has always been tricky to recreate because it´s not flat but each cell actually bulges out to each side and has a rounded profile:

This window with relief in honeycomb stitch raises me problems. I did not manage to find an equivalent material. Then, I am obliged to use a visual stratagem. I made a test and the result is acceptable.
 
Very good modeling here. I've always wanted to do a similar project but of the Original Series Hanger Deck.

Point of interest, your French expression "Mounting White" I think is equivalent to the English expression "Dry Fit".

Keep up the good work!

--Alex

Hello Alex,
These projects frighten always a little. Nevertheless, they are accessible, but they take time.

Thank you for the expression " Dry Fit ", I did not know it. It is nice
 
I am amazed not only by your attention to detail but also by your speed. All I would have managed to do in 24 hours is glue my fingers together and impale myself upon my X-Acto knife :(
 
This is amazing work! I thought for sure that the scale was much larger until the shot of your hand. Your shuttlebay is going to look excellent when finished, I'm sure.
 
To be able to move, I owe finalize the gantry of Shuttlebay. On one hand the realization of a window with cell - hexagons (for that, I have maybe an unexpected solution).

portai10.jpg


On the other hand, and it is this part which blocks me, the realization of a system of lifting of the aforementioned gantry.
Indeed, not being able to resolve me to opt for an opened or closed gate, nor to leave totally this model in a static state (I have already begun the illumination of certain parts), I wish to make mobile doors. But impossible to reach it once quite fixed.

Here is the plan of the mechanism that I suggest making.


A solution: trammel, Pulleys, Gearings, belts
This sort of material is not difficult to find. You may have to look someplace you weren't planning to, however.

I recommend looking at desktop lamps... the ones which use fluorescent tubes. They often have molded-plastic diffusers which are almost exactly what you're looking for.
 
For reminder, here is my gate.

rideau12.jpg


The simplicity must be rigorous. I wished, at first, to motorize the set, but at the bottom what counts, it is that the curtain is functional.
The objective is to arm itself with pieces to elaborate the set, is :
- A trammel,
- A gearing doubles,
- a worm on axis,

I cannibalized an old-fashioned electronic device (finally, even some), to find a worm and a gearing there.
No available trammel, thus the obligation was made make it myself. Near 8cm of length, 3mm of wide, and 3 hours and a half of work later....

mecani11.jpg


The worm is évidement not as I wish it. It is thus advisable to adapt it to my needs. I just hold the black axis, the rest must be accommodated.

mecani10.jpg


mecani12.jpg
 
The second stage: take up a plastic section of wall and link it with the structure which supports the gate...

portai11.jpg


The trammel is realized with the classic plastic (Evergreen). It is a little bit soft and I hope that teeth are not too much going to wear out.

mecani13.jpg


Difficult to make tries before a fixed assembly. By making the tests, just with the trammel and the gearing clocked with a nail, the result was convincing. But with the gate in more....

.... The gate leaves fault and blocks ... I opted voluntarily for a single system of training. Because it was simpler and because I possessed only a single set, of equipment. I began to doubt seriously my system and imagined an alternative.

I decide to maintain my choice, betting that with guides on both sides of my frame, I shall oblige the gate to slide straight ahead, since pieces would be fixed. Besides I thought, that so smooth as possible, the friction could have played me on tricks. So I decide to buy a spray of dry teflon. It is necessary to me, at all costs, to go at the end of my idea.

mecani14.jpg


mecani15.jpg


mecani16.jpg


mecani17.jpg


The system will not be electric, but it is necessary, all the same, think of its training a simple crank should agree. I make, plastic, a square piece which I once file dry and which I introduces into the tube connected with the worm.

mecani18.jpg


I create holds but I am allowed the possibility unsettle if the need arises. It would be only for the future maintenance.

mecani19.jpg


My system is ended.
 
If you are not already a member then please register an account and join in the discussion!

Sign up / Register


Back
Top