• Welcome! The TrekBBS is the number one place to chat about Star Trek with like-minded fans.
    If you are not already a member then please register an account and join in the discussion!

1:10 scale TOS bridge scratch build

Status
Not open for further replies.

Atlanthia

Ensign
Red Shirt
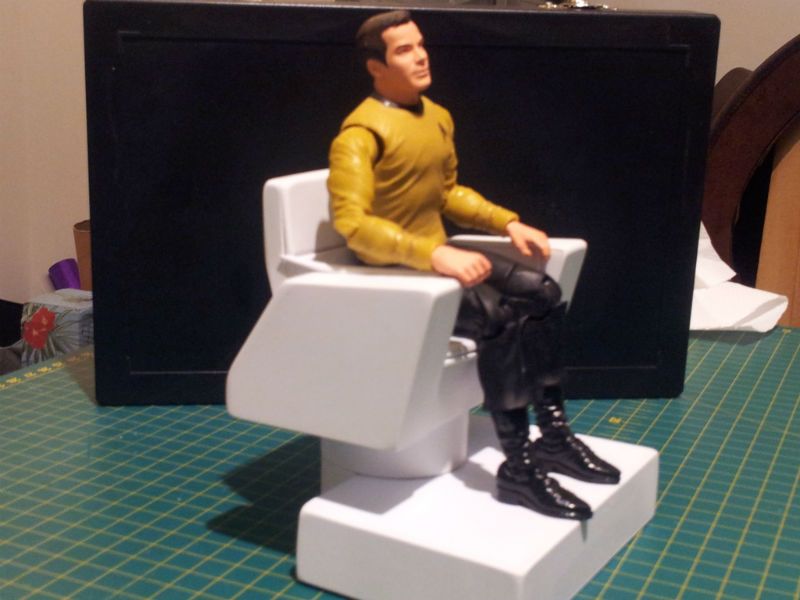
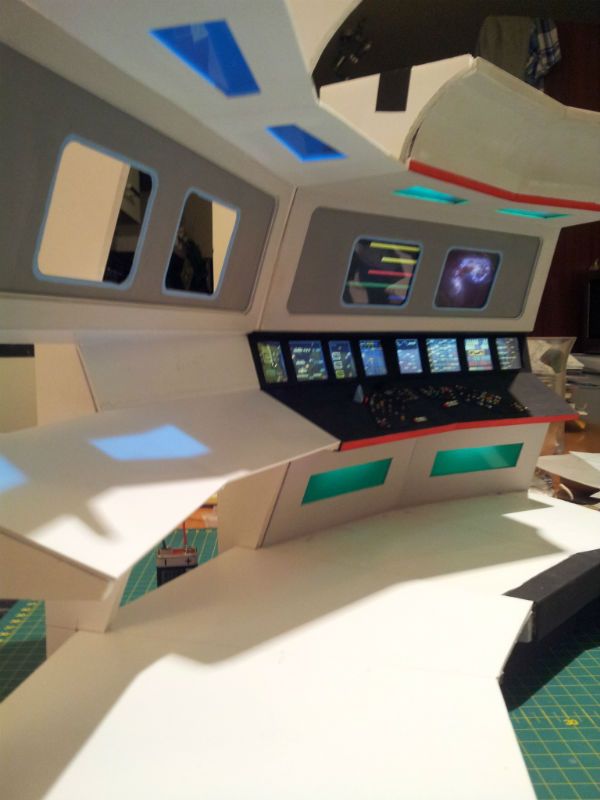
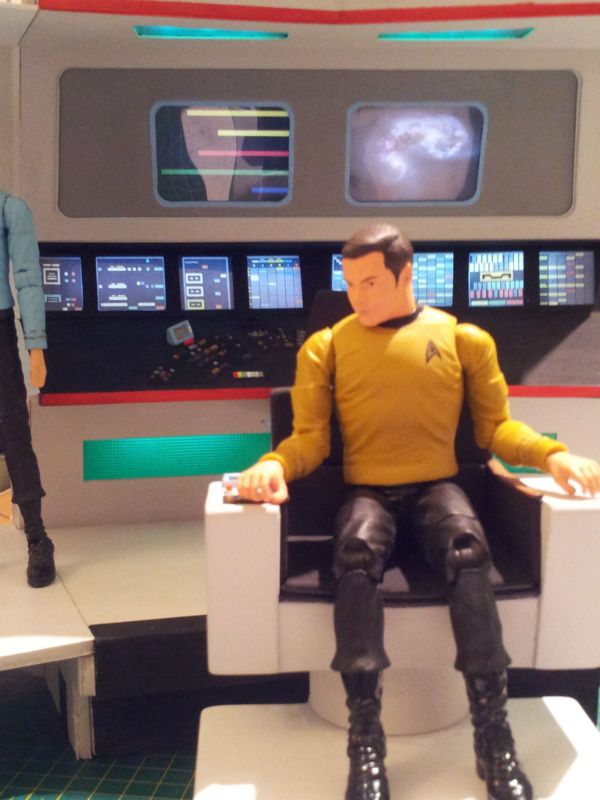
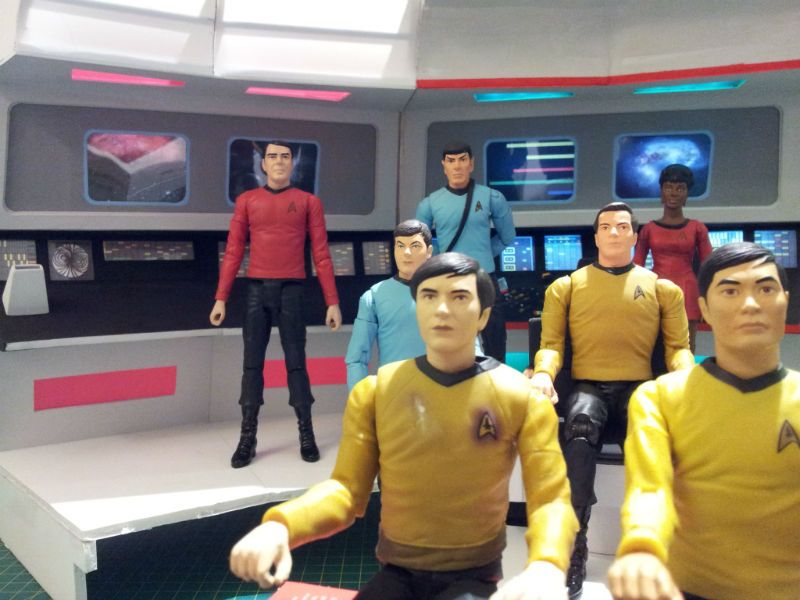
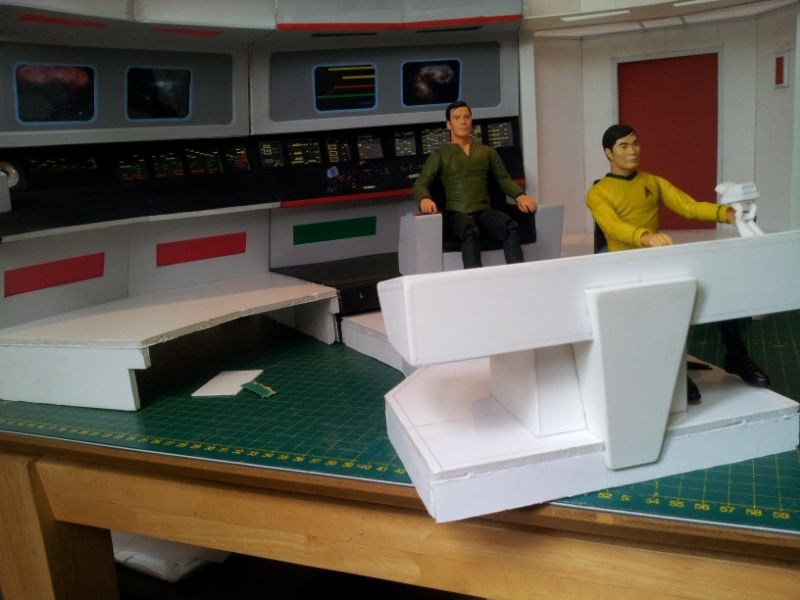
I recently started to build The Original Series Enterprise bridge in 1/10 scale, to display my 7 inch Art Asylum/Diamond Select figures. This would be to supercede the 1/19 scale bridge that I already built to display my 3.75 inch figures.
Here are two quick pictures of that first build:

20120222_123758.jpg

20120222_023707.jpg


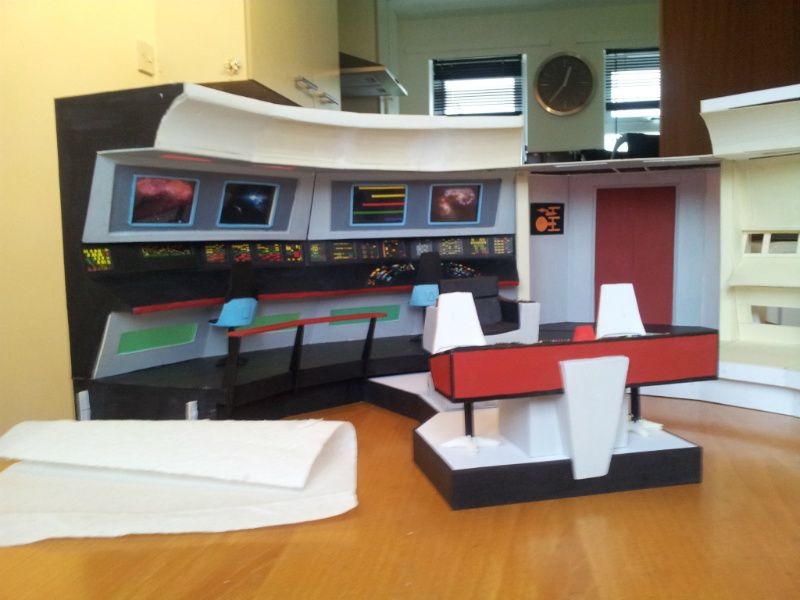
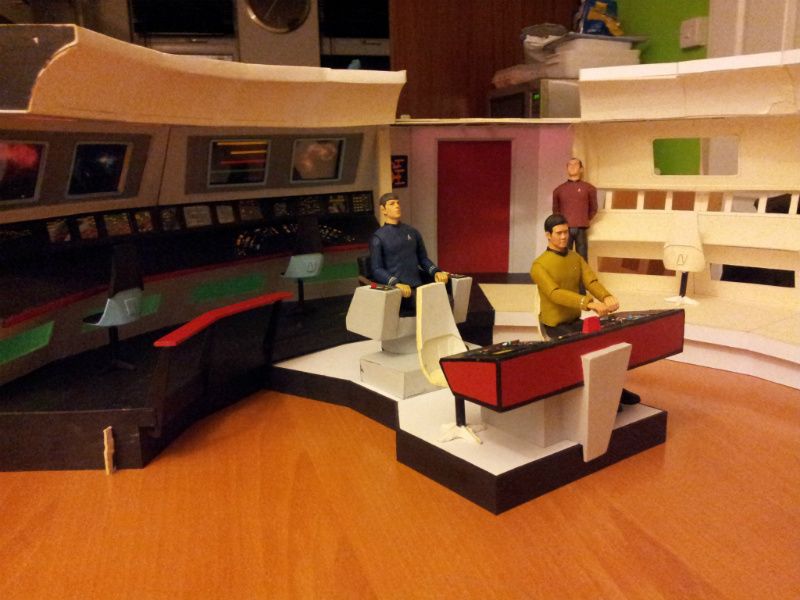
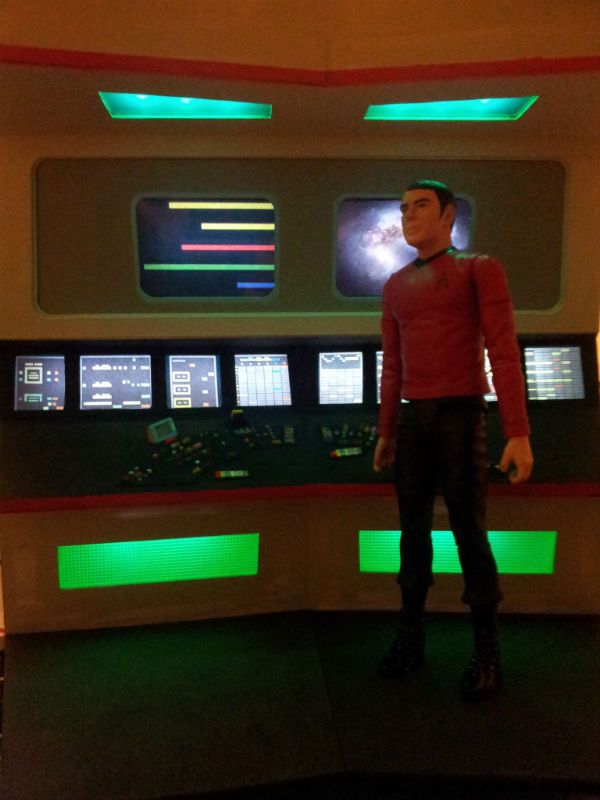
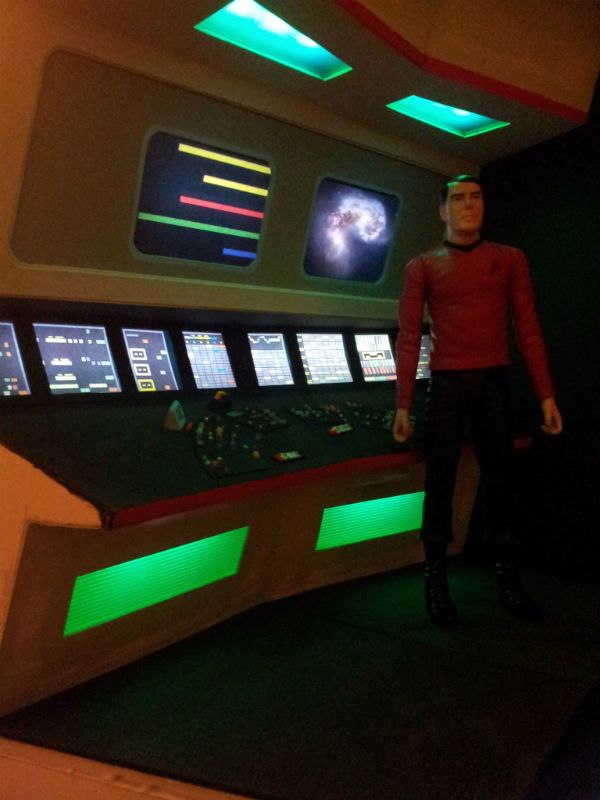
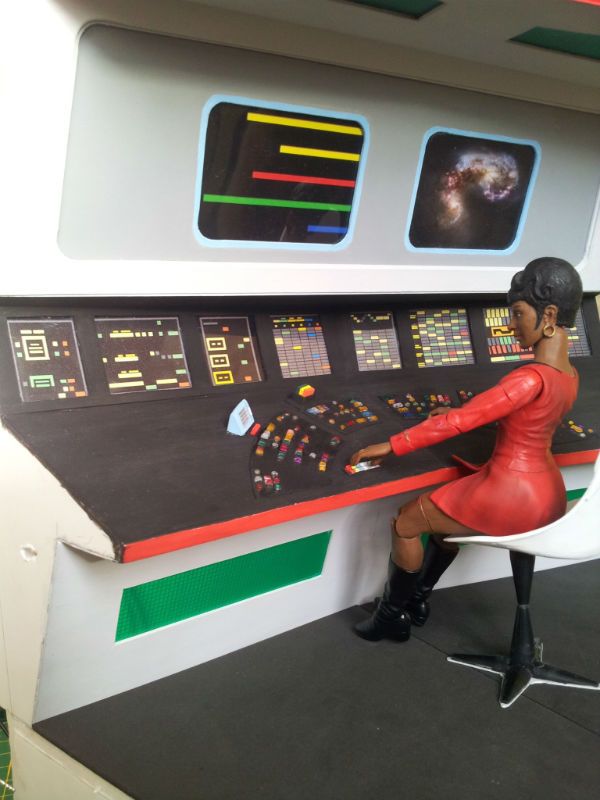
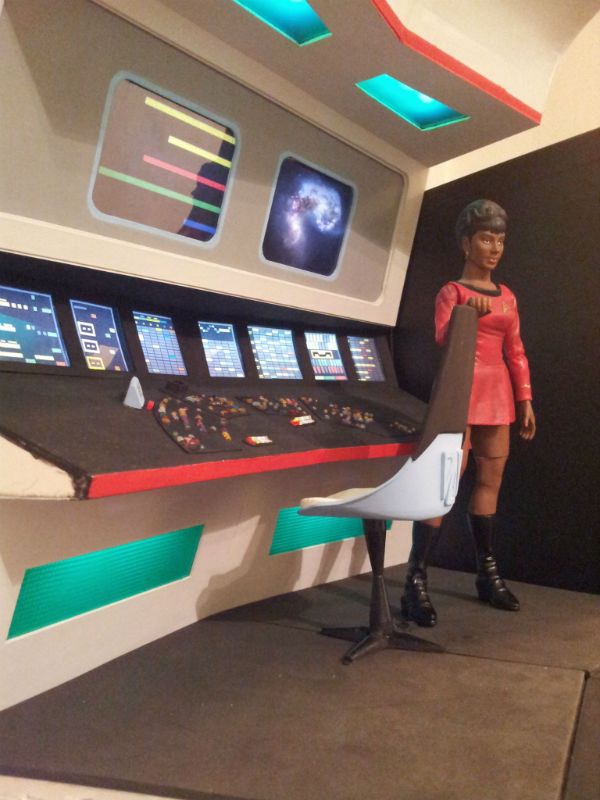
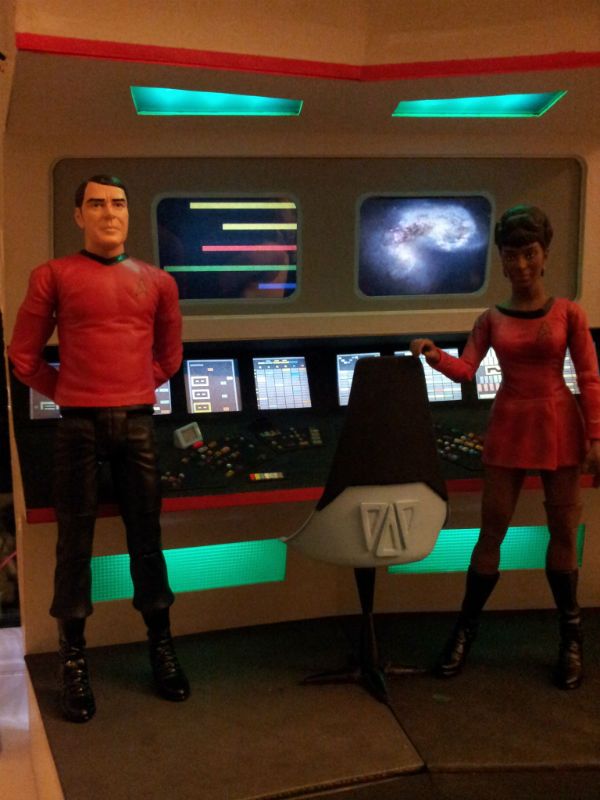
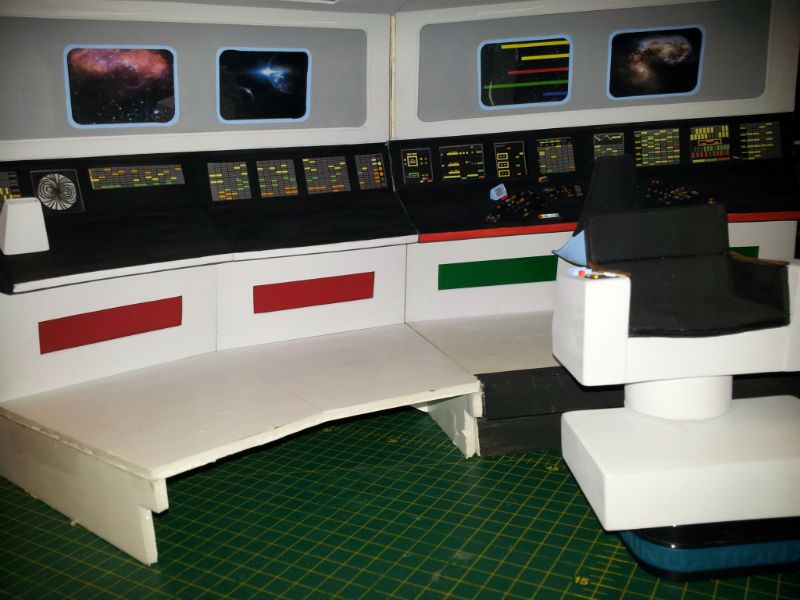
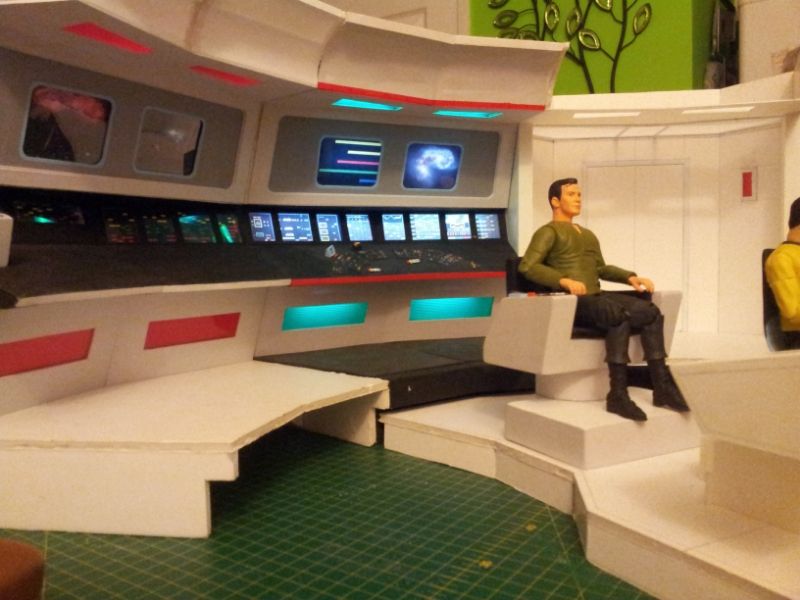
There were several aspects of that first, smaller build that I was not happy about, such as the lack of lighting, and general inaccuracies that I wanted to improve upon, coupled with the fact that it was built from card and paper. So, because I am still involved with building my 52" Eagle Transporter, I thought I would just build one Bridge console section from Styrene Sheet, and see if I could iron out some of those "issues". The idea was that if I was successful, it would stand up as an individual display piece in its own right, or, if I was so inclined, I could gradually add to it, section by section, when time permitted. I decided on Lt. Uhura's station as, that is the position that the command podium would spur off from.
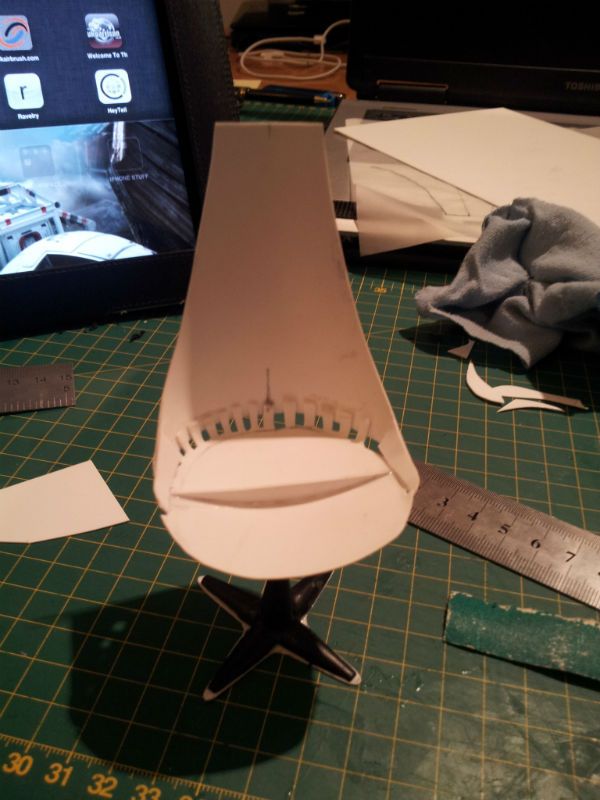
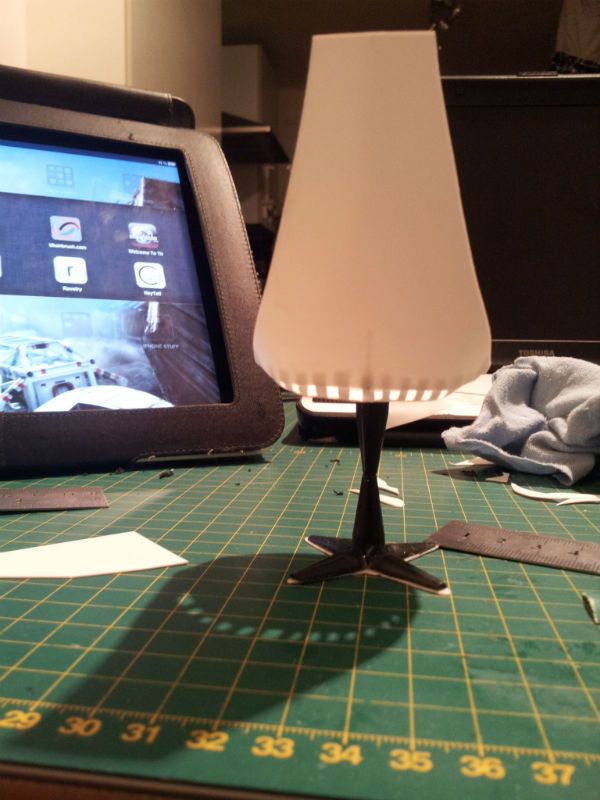
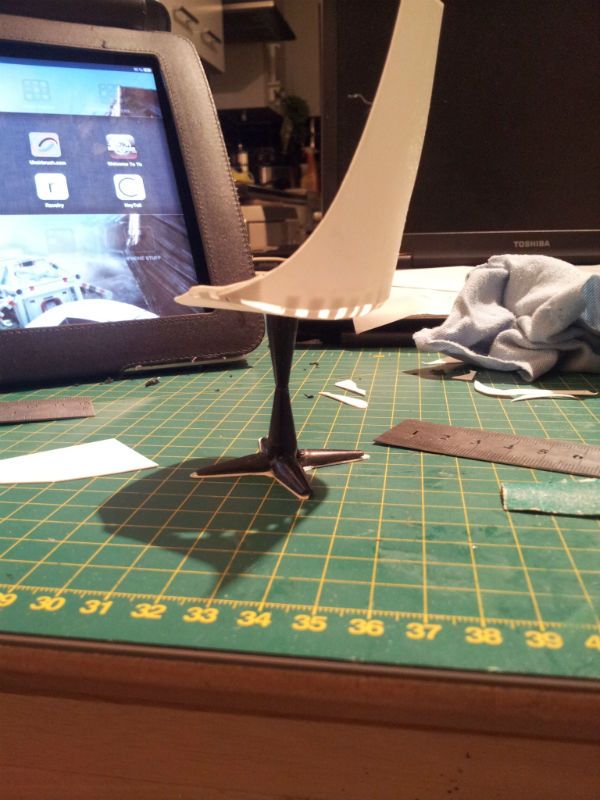
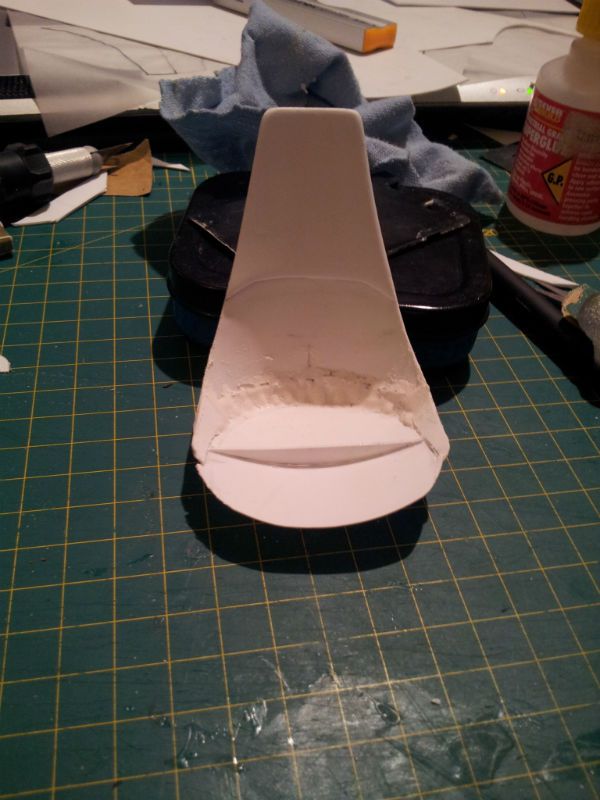
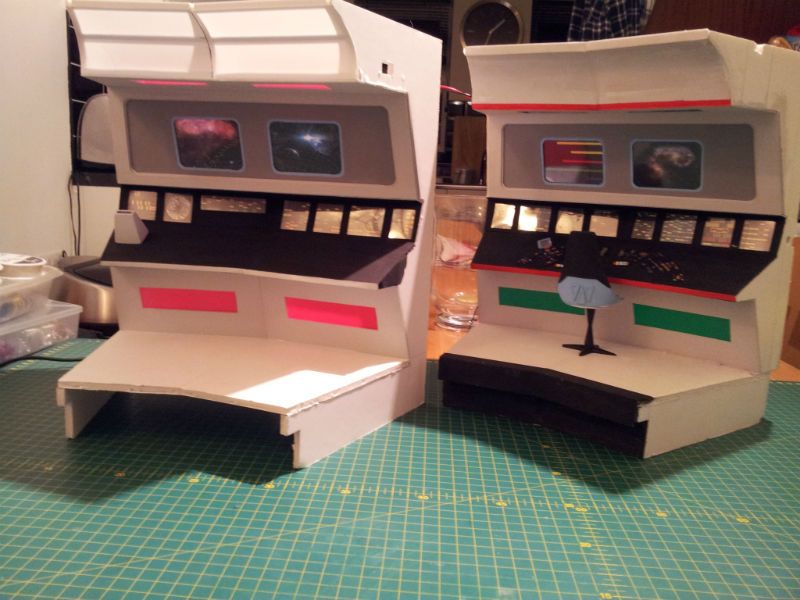
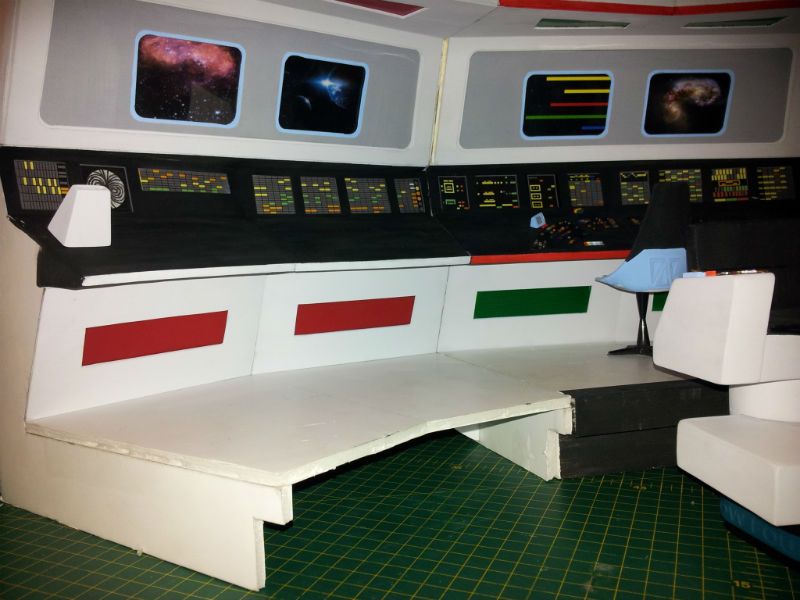
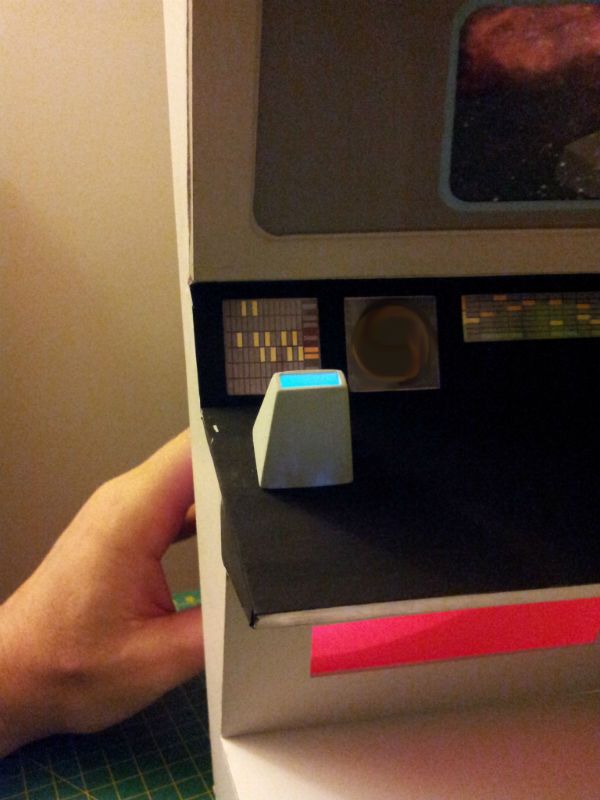
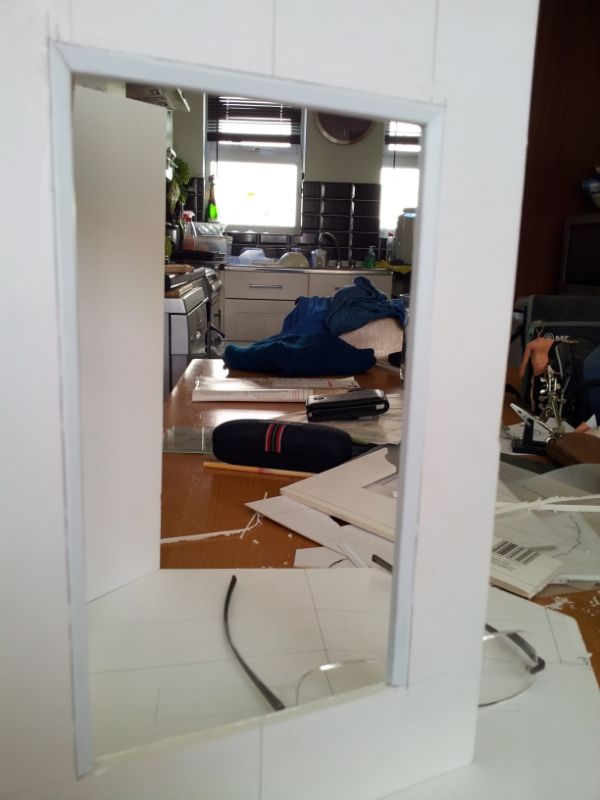
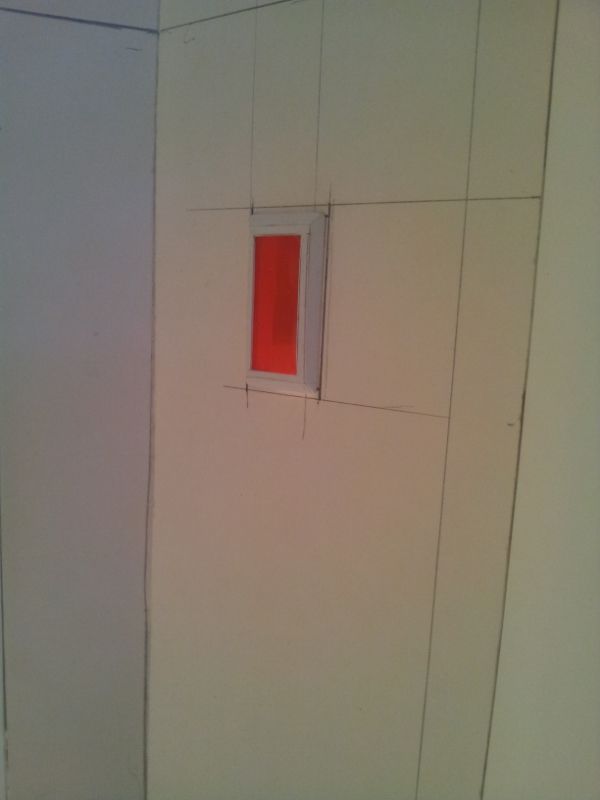
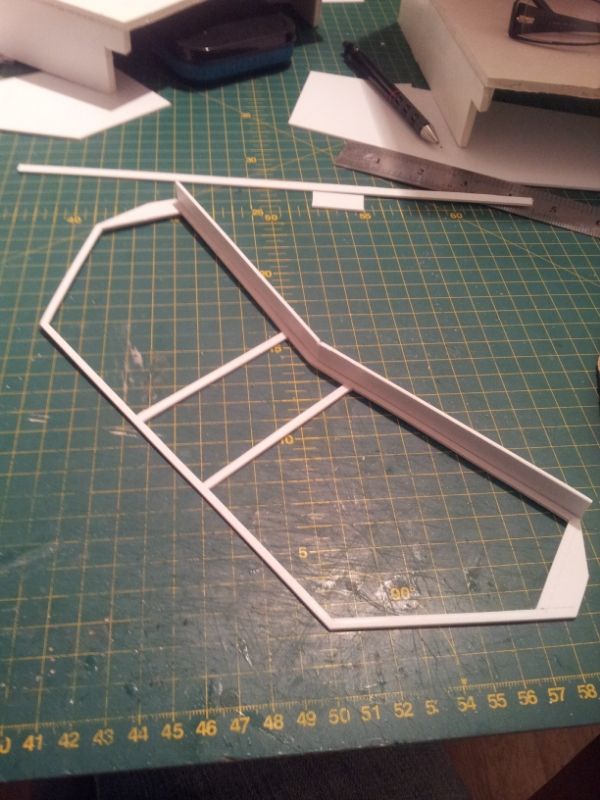
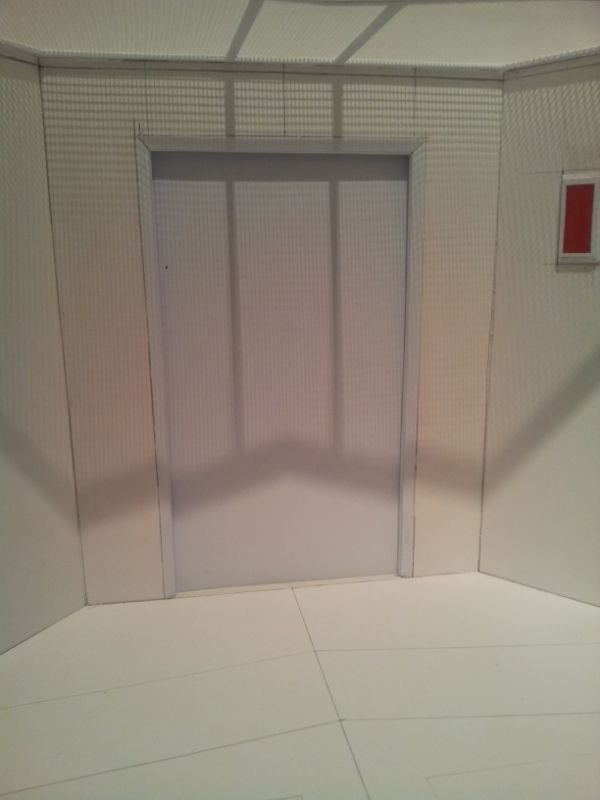
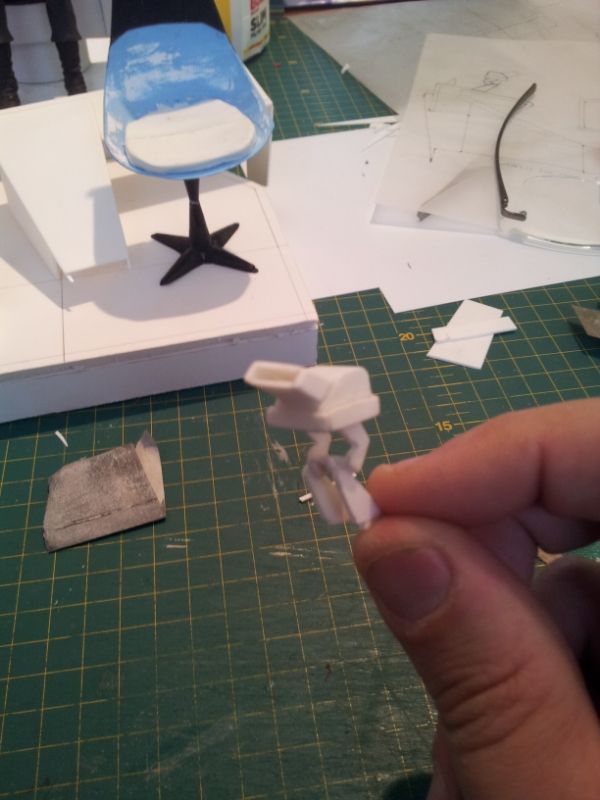
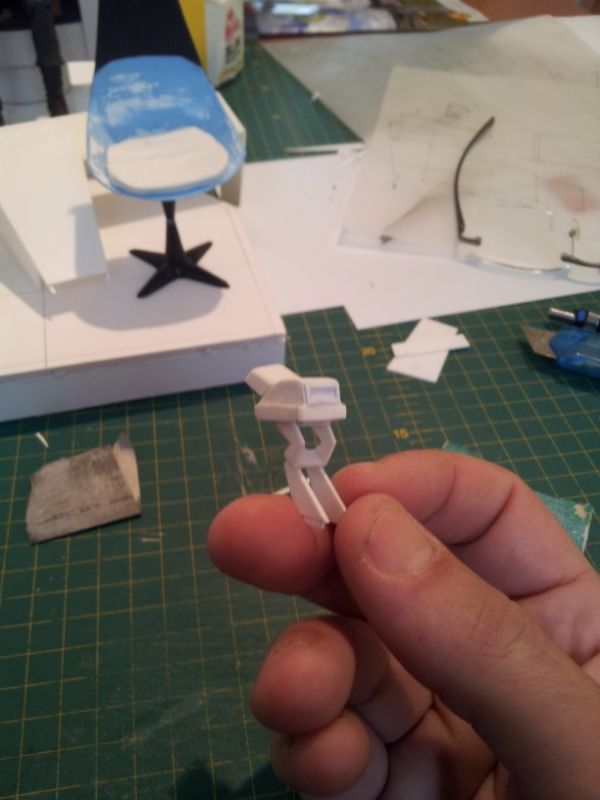
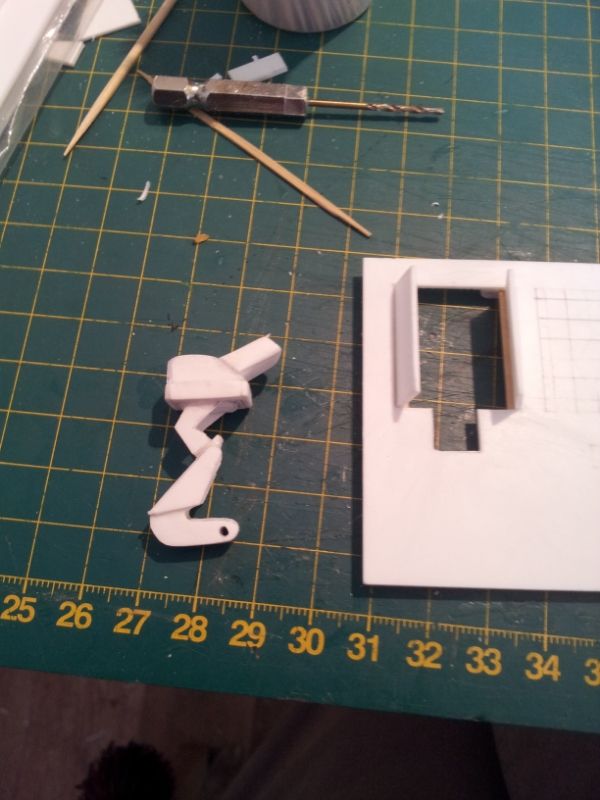
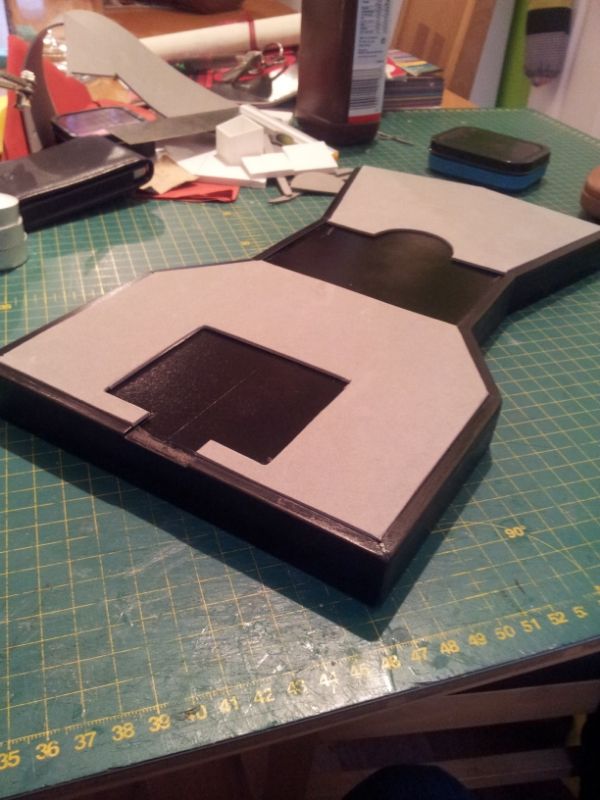
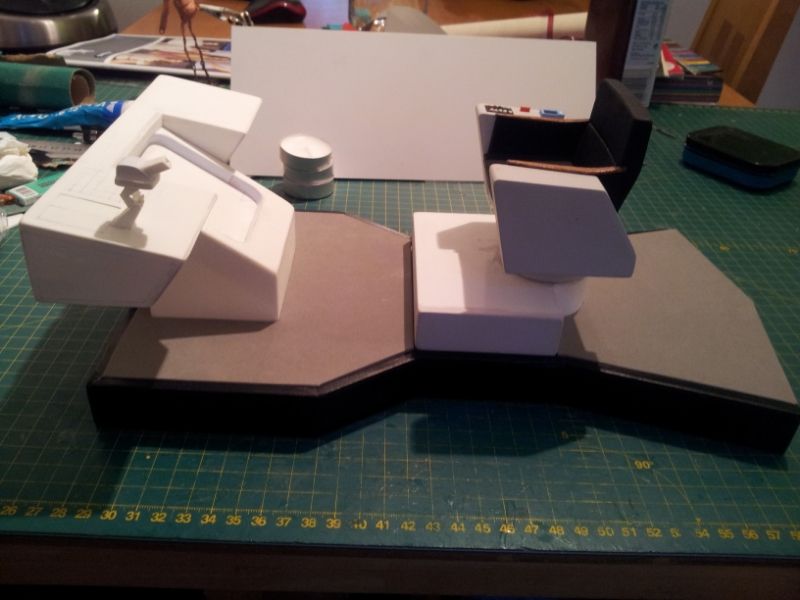
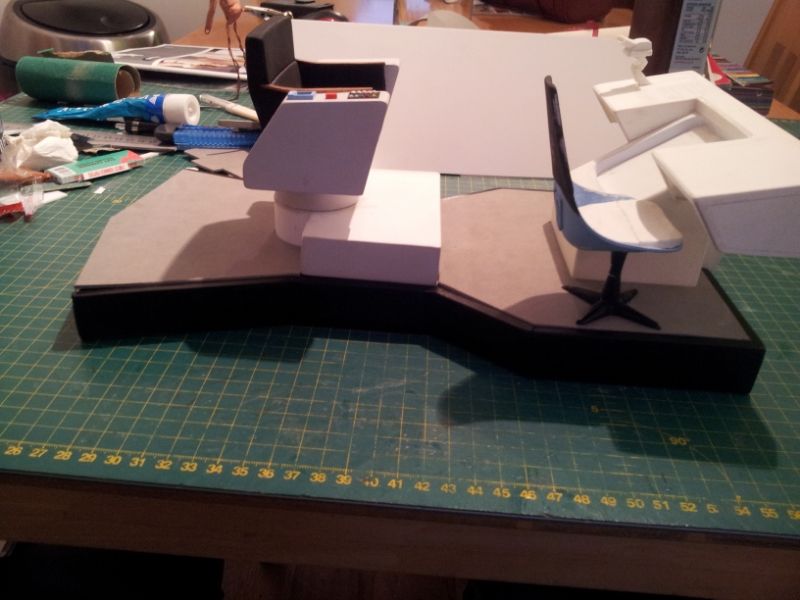
So, anyway, here are a few progress pics and, I promise you, no more waffle from me!

Untitled-5.jpg

Untitled-6.jpg

Untitled-7.jpg

Untitled-1.jpg

Untitled-2.jpg

Untitled-3.jpg


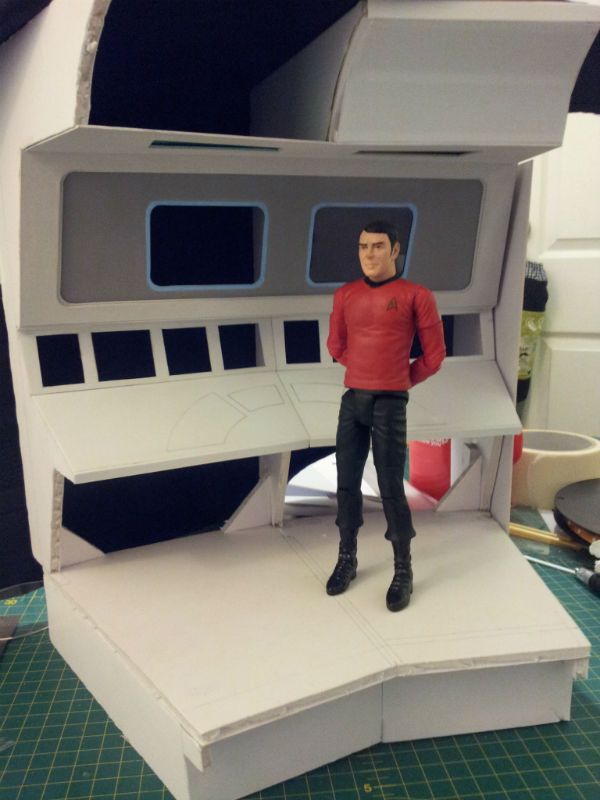
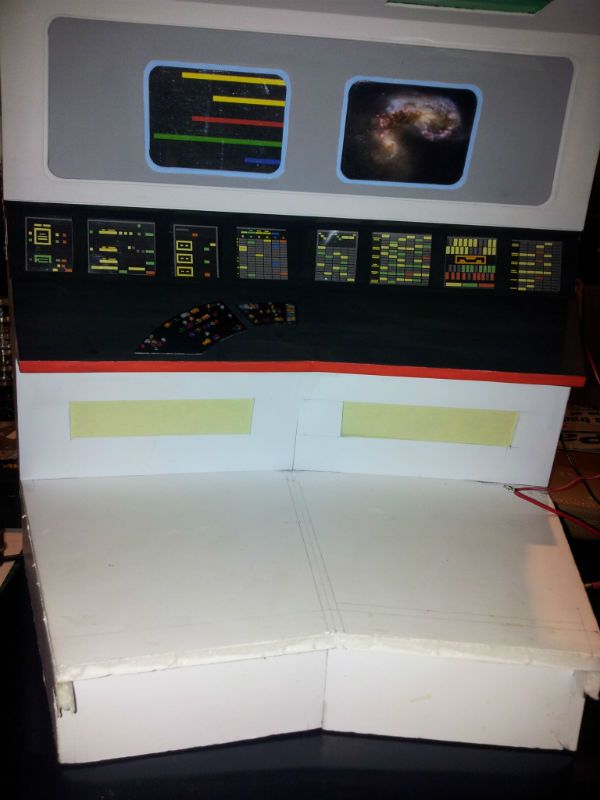
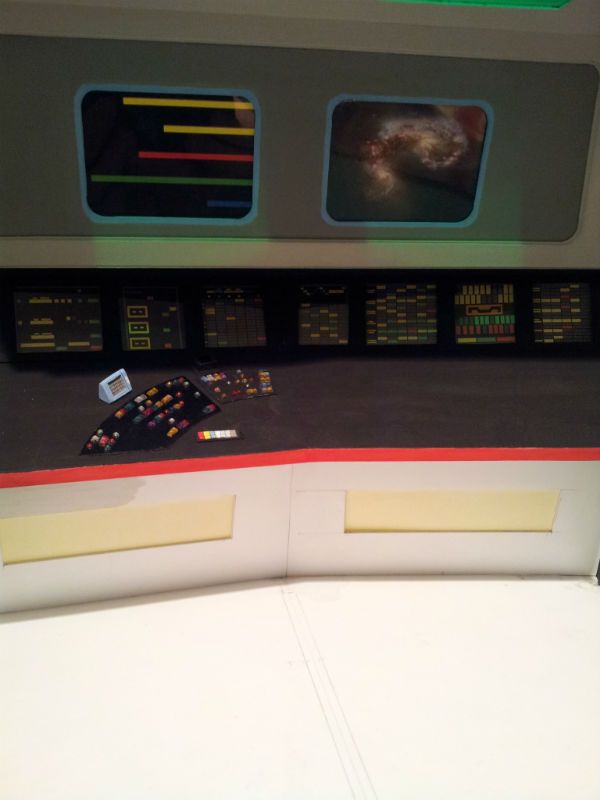
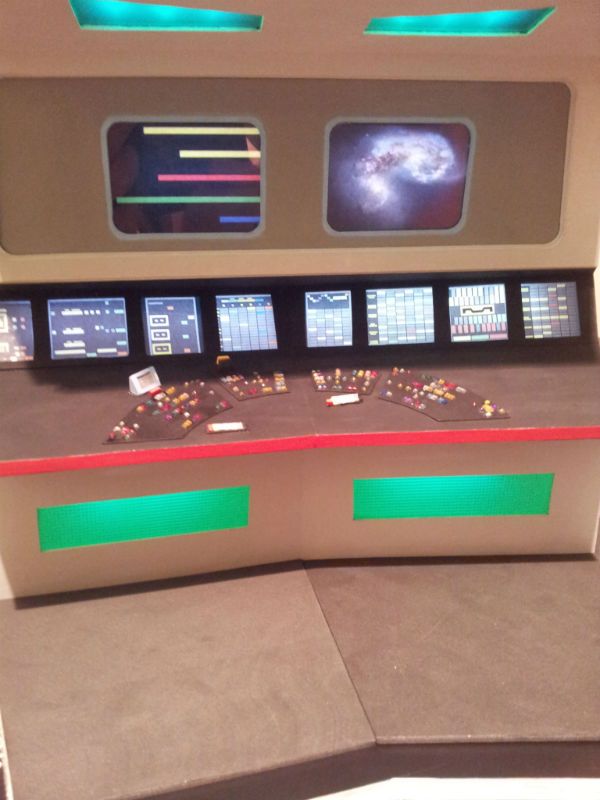
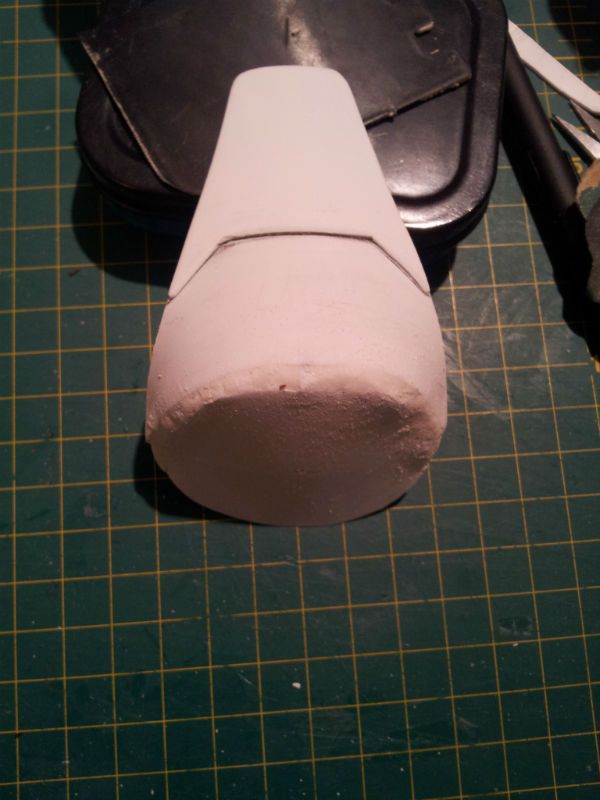
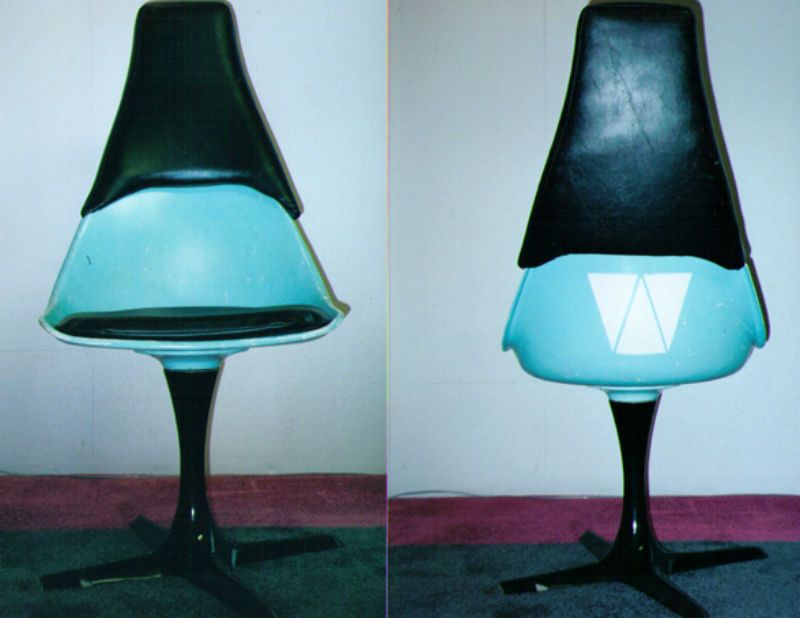
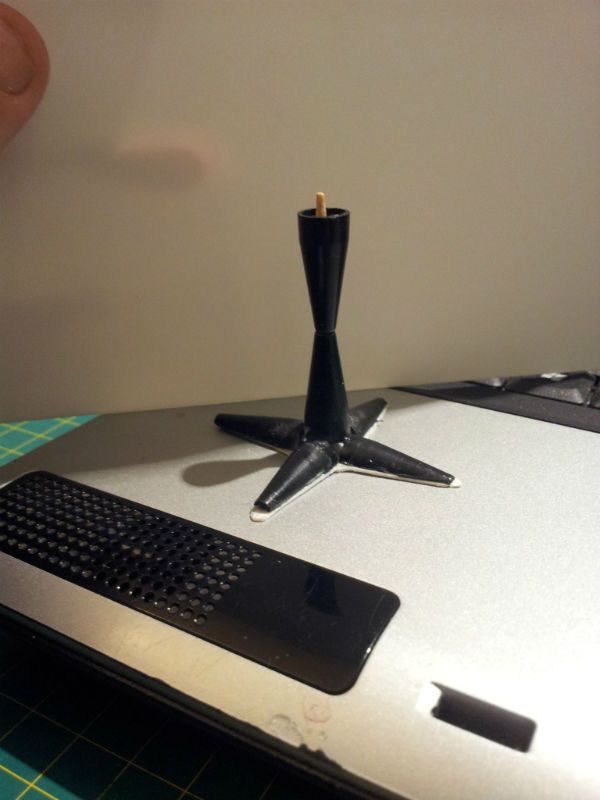
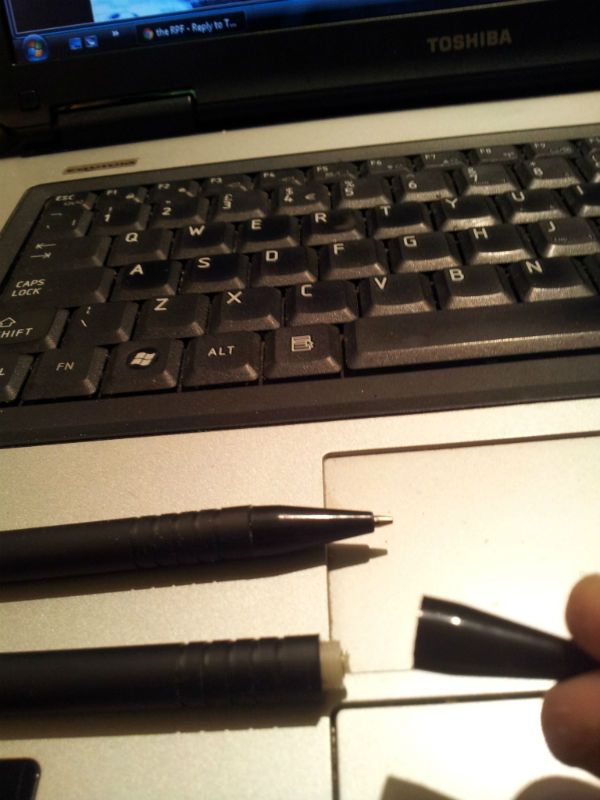
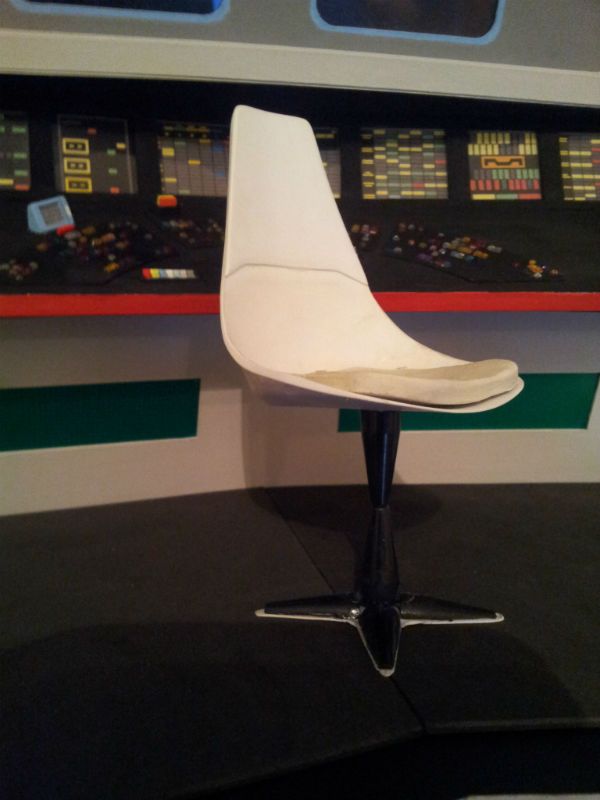
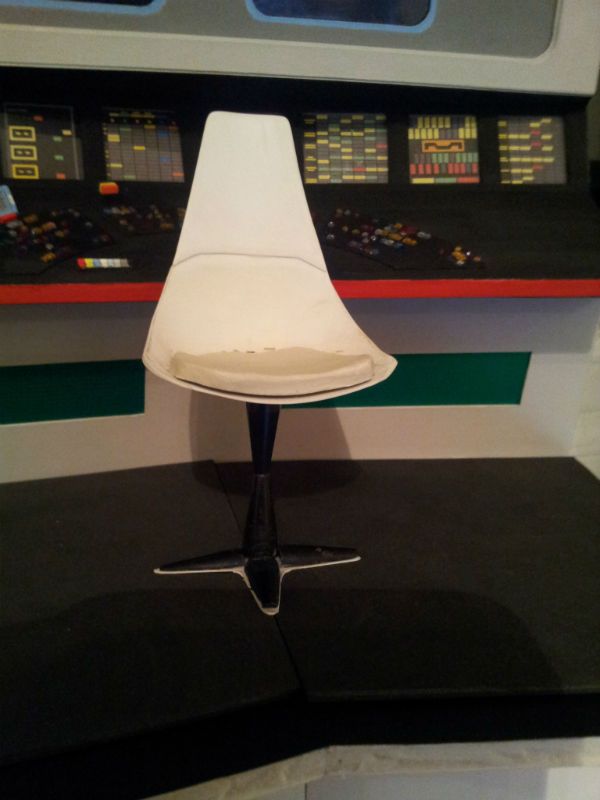
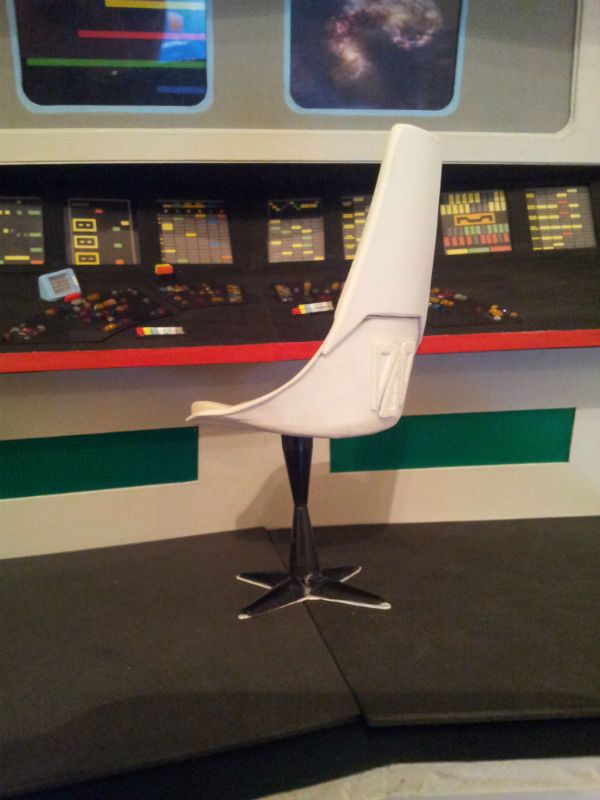
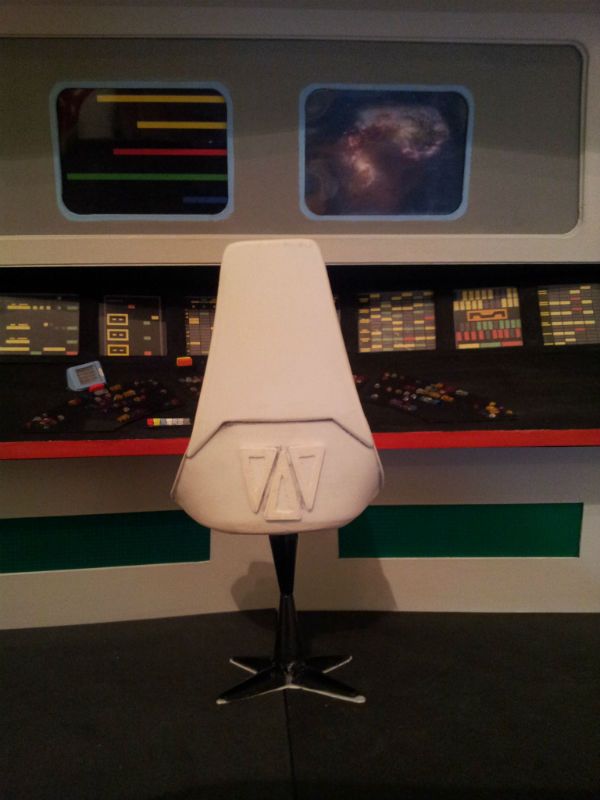
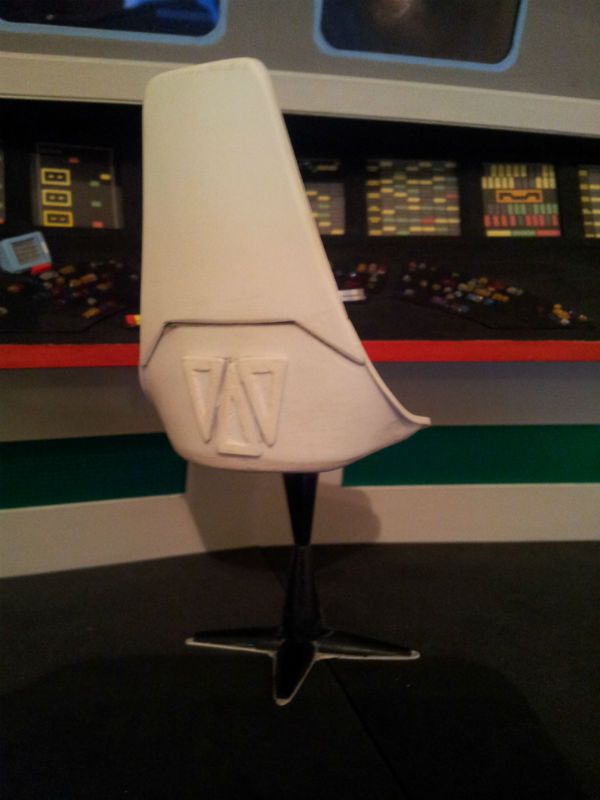
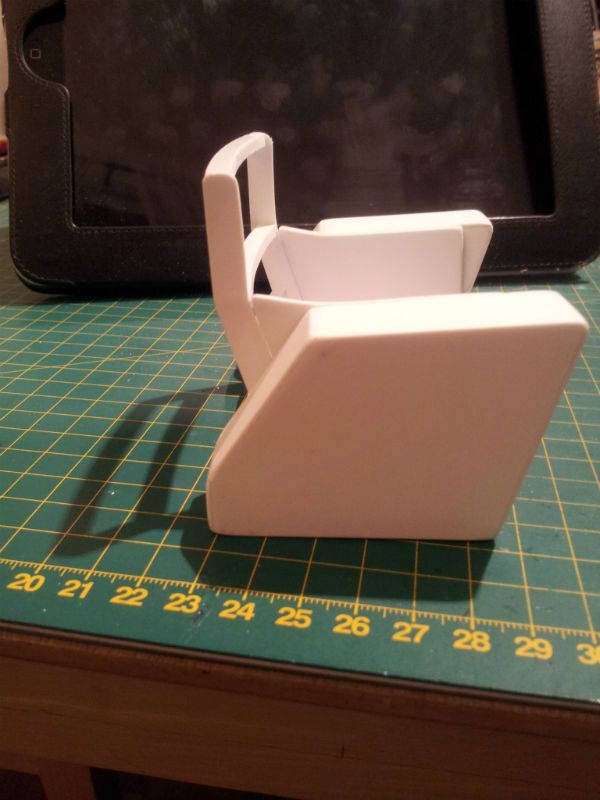
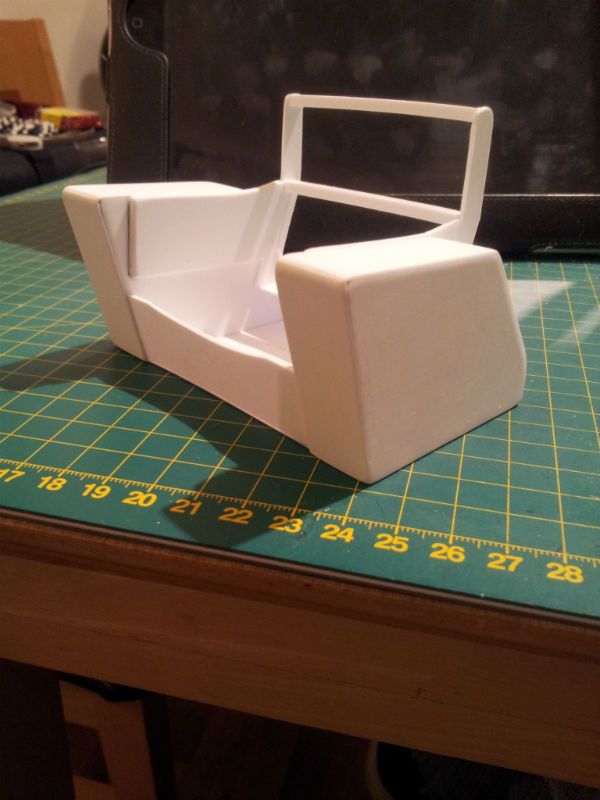
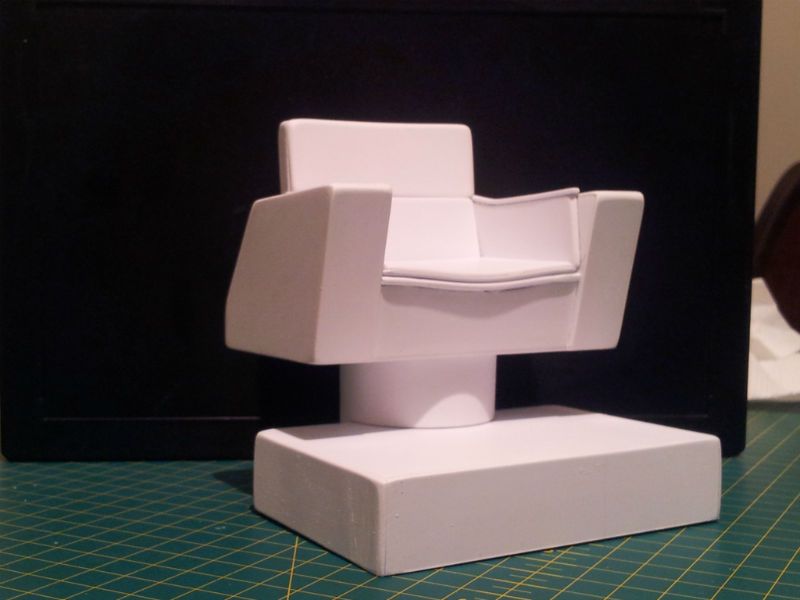
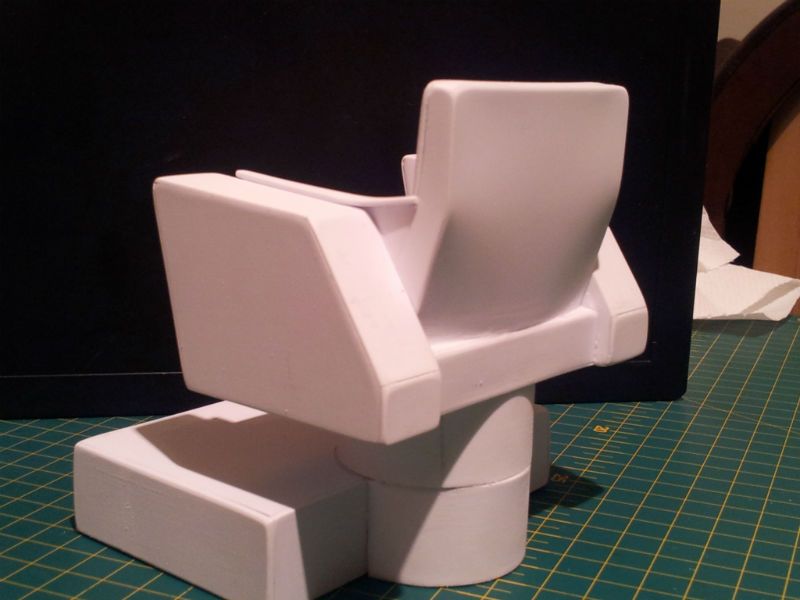
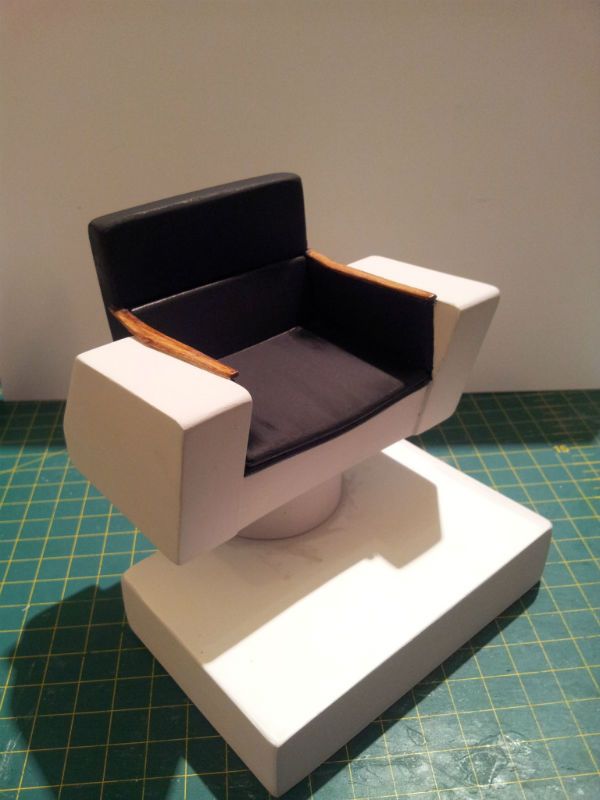
I still have to make the chair and finish off the sides, as well as attach the front of the walkway edge strip etc.
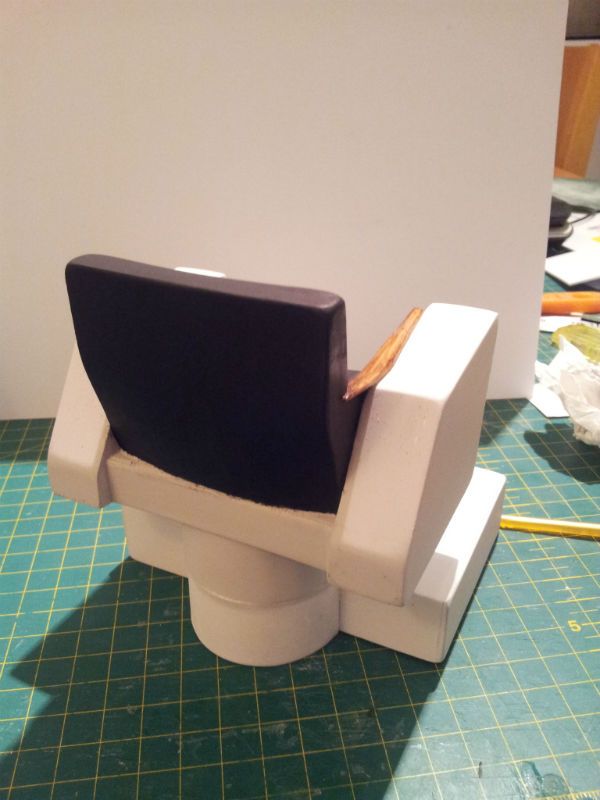
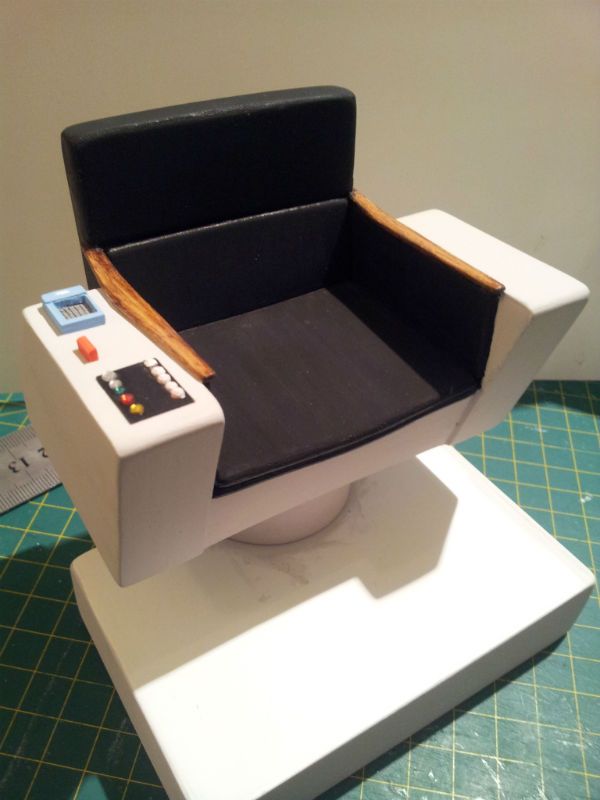
The model is in Styrene sheet and styrene/foam board, and the flooring is dark grey 2mm craft foam.
Thank you for looking in and I will post again soon with the finished article...
 
I started constructing what I hope will be a realistic Burke Chair. If this works out, I will be casting and moulding it so that I only have to actually construct one.

Untitled-10.jpg

Untitled-12.jpg

Untitled-13.jpg

Untitled-8.jpg

Untitled-9.jpg


The actual chair that I am trying to emulate.

Untitled.jpg

Untitled-14.jpg


The chair stand and feet are made from the nibs of disposable propelling pencils. The post, from two nibs glued end to end, and the feet, from two nibs cut down the middle lengthways.

Untitled-11.jpg

Thank you for looking in!
 
I'm pretty happy with the slight angle on these as The benefit is that the chair actually swivels. I have also inadvertantly fitted a height adjuster to the seat. The pencil and the nib both screw onto the same threadblock, so i simply cut off the pencil end, and glued the nib end to the chair bottom. The chair stand now simply screws onto the chair bottom and as it screws down, the chair gets lower or higher.

Untitled-21.jpg

Untitled-19.jpg

Untitled-18.jpg

Untitled-17.jpg

Untitled-20.jpg
 
Well, I have managed to pretty much finish the Burke Chair and all that remains now is to tidy up any general imperfections on the model, fill and paint the sides, and cut and glue the carpet into position.
Untitled-22.jpg

Untitled-38.jpg

Untitled-35.jpg


And that should have been an end to it................ but I started to build the captain's chair, just to see what it would look like.

I had to boil up the styrene rods to get them to bend to make the curve in the chair back.
Untitled-33.jpg

Untitled-32.jpg

Untitled-24.jpg

Untitled-27.jpg

I cut 3mm from the height of the circular swivel under the seat, so that Kirk's feet can now easily reach the floor.
Untitled-30.jpg
 
Well, I have made a little progress with the chair. I have filled it and sanded it as much as I can and I have painted it up and started to make the panels for the arms.
Untitled-42.jpg

Untitled-41.jpg

Untitled-40.jpg

I still need to tidy up the paint in places, but I will wait until all the other bits are finished. I am in two minds about cutting and glueing on a piece of felt to imitate the carpet that they put on the pedastal in later episodes, or just paint it up to match the sides. I will post the finished thing as soon as its done.
 
A little progress made.
I have managed to pretty much bash out Spock's station. lots to still do though, such as the bottom front edge of the walkway, paint the inside of the carcass with two coats of black, install lights etc... but at least I think its going in the right direction...

Untitled-36.jpg
Untitled-23.jpg

Untitled-45.jpg

Untitled-46.jpg

Untitled-39.jpg

Untitled-43.jpg

I started experimenting a little with the best way to illuminate Spock's Sensor Shroud. I am thinking, at this stage, it will be underlit through blue acetate, and the inside of the sensor shroud will be covered in foil backed card. That should maximise the light and give a nice blue glow on the ceiling above his station.
Untitled-47.jpg
 
I have decided to remove all the monitor screens, (eight per station) and redo them. they leak too much light and I am going to try to emulate the flashing lights from the original studio set. Hopefully, they will look much better than they do now.
More soonon that.....
I have managed to construct the main structure of the turbolift entrance. It is strange, but since my good friend LMFAOSchwarz introduced me to the wonders of styrene, The level of "clean building" that can be achieved, never ceases to amaze me. It also means take a lot longer to get right, such as filling and sanding joints etc, but that is fine with me because the end results are stupendous compared to working with card, which cannot be sanded....

Anyway, here are the pics of the construction:
d40e4b07-e8d6-421a-b447-c45385b2bd6c_zps2afea9d5.jpg

20130531_204821_zpsaf445868.jpg

20130531_231314_zpse7cc030c.jpg

20130601_000129_zps3e2f825b.jpg

20130615_222757_zpsf56e014f.jpg


I have also constructed the overhead lighting panel but no pics of that yet.
 
Managed to find a little time to build Sulu's targeting scanner. It is built to the exact dimensions on the McMaster plans but it seems a little smaller than it should be.
20130614_093807_zpsb440edac.jpg

20130614_093837_zpsebbcdd7d.jpg

This has inadvertantly worked to my advantage though as it is small enough that I have decided to make it actually retract into the helm console as per the original in the TV series. I know it should fold in the middle but, Hey! I'm only human! LOL!
Here is a pic of the hinge extension I added to make the whole thing work:
20130614_151956_zps90d61b59.jpg

I then edged and bordered the command podium and after filling and sanding, I sprayed it up....
20130621_205958_zps2ec8b32a.jpg

Then cut and fitted the grey carpet...
20130621_210107_zps52b95087.jpg

And finally, the helm and command chair. I will not glue the carpet into place until everything else is finished and painted and in position.
20130621_210401_zps847f16cc.jpg

20130621_210524_zps3bd7d82c.jpg

I think it is really starting to take shape now.
20130617_135308_zpsb4203b5a.jpg
 
Unreal. Just unreal....

The work you did on the NX helm, and this, is simply amazing.
 
Some of your progress shots looked like on-set photos of the real set being constructed. Impressive work!
 
Well, I have made a little progress with the chair. I have filled it and sanded it as much as I can and I have painted it up and started to make the panels for the arms.
Untitled-42.jpg

Untitled-41.jpg

Untitled-40.jpg

I still need to tidy up the paint in places, but I will wait until all the other bits are finished. I am in two minds about cutting and glueing on a piece of felt to imitate the carpet that they put on the pedastal in later episodes, or just paint it up to match the sides. I will post the finished thing as soon as its done.

Great work! Such detailed figures deserve at least one, complete display.

Curious...why did you scratch build the captain's chair, instead of using the fully detailed Diamond chair that was part of the Kirk (or Pike) box?
 
Status
Not open for further replies.
If you are not already a member then please register an account and join in the discussion!

Sign up / Register


Back
Top